Bending Curly Koa Binding
Updated 11/2020
Updated 11/2020
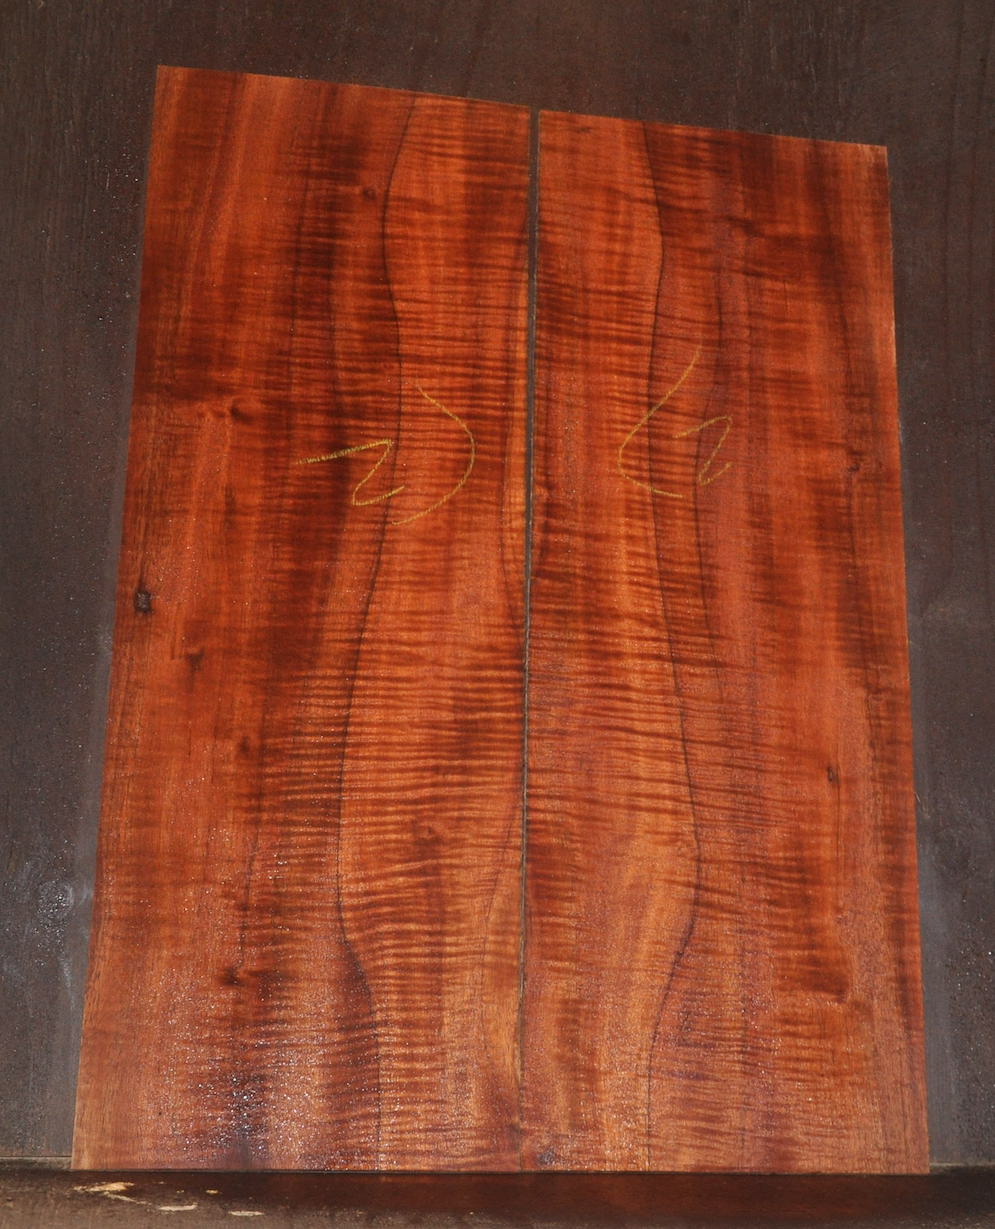
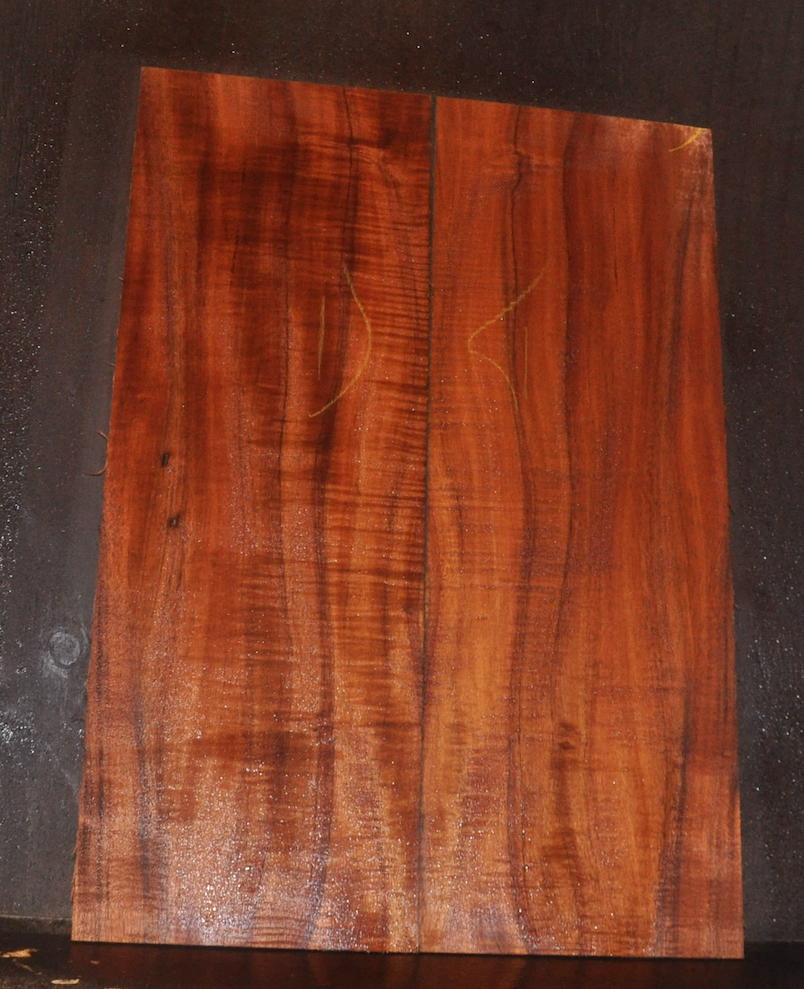
Because i sell curly koa binding, I am often asked about how to bend it. While curly wood is fragile, it usually can be bent without issue on standard ukulele and guitar bends. Things like cutaways can be very difficult. Everything is possible, but for extra tight bends, make sure you have extra wood to work with, just in case! For guitars I usually start with binding sanded to about 2.3mm. For ukuleles I start with 2mm pieces. If possible, I always bend at least 1 extra piece. Binding can easily be accidentally broken during the building process. I've done it many times.
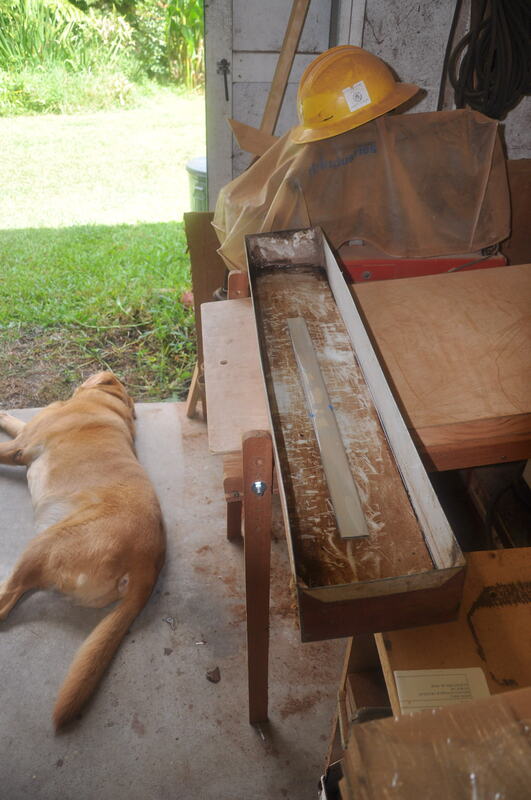
I tape the binding tightly together before bending. The taped package is much more easily handled during the bending. The pieces support each other and the binding comes out straighter. I also wrap it with a couple of wraps of paper. The tape does adhere vorashily, and it will take 10 minutes or so to get it off, but it is worth the effort in the results you get.
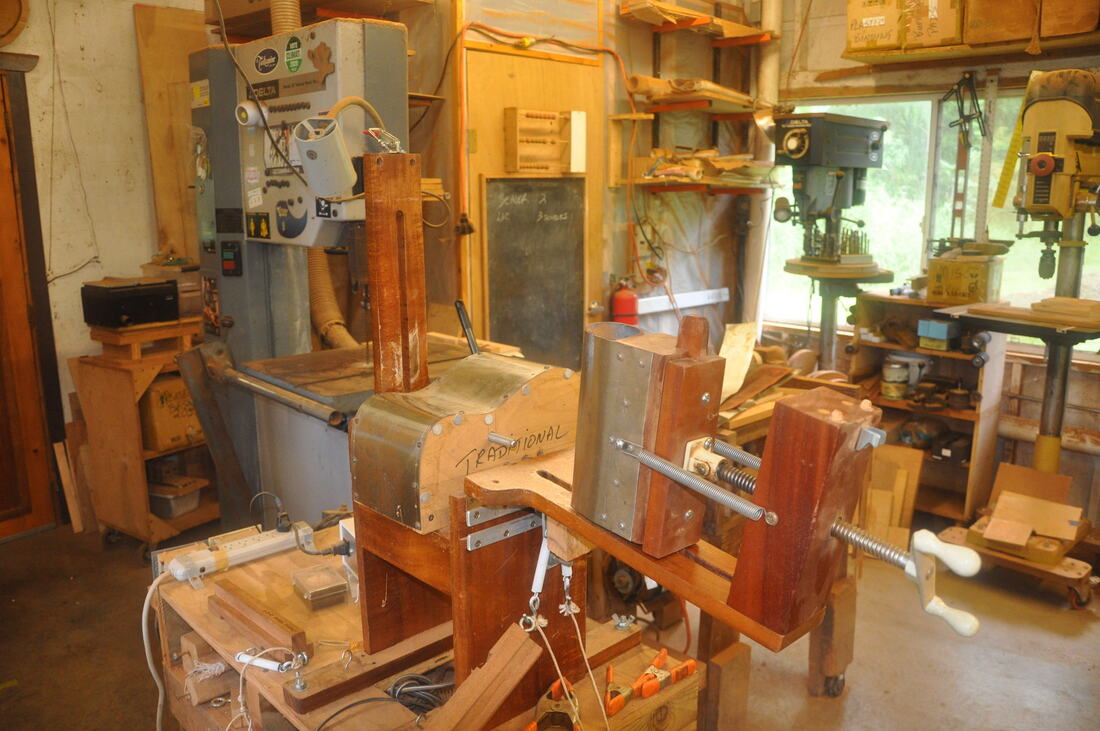
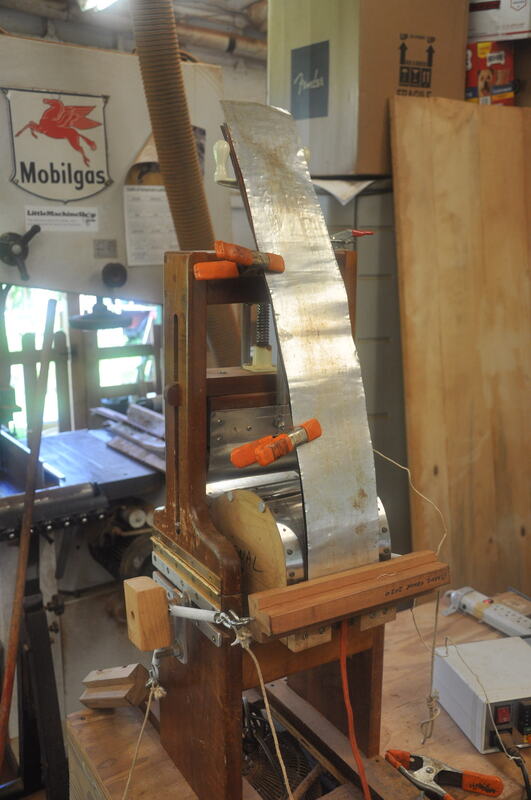
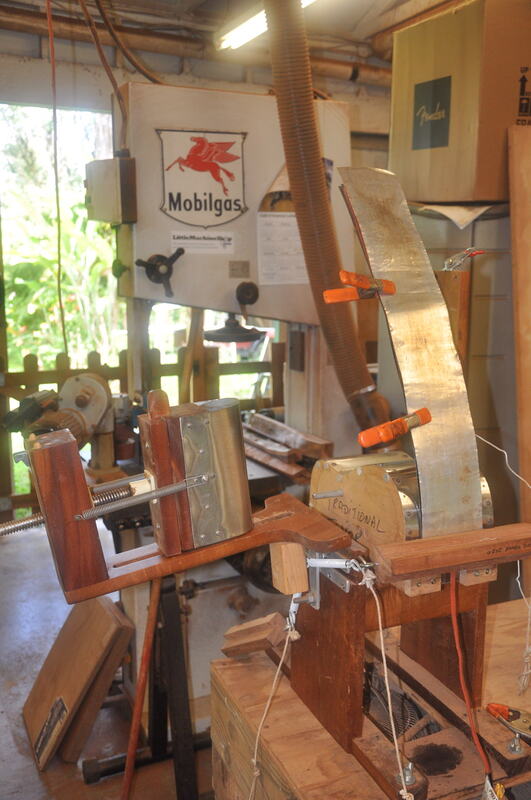
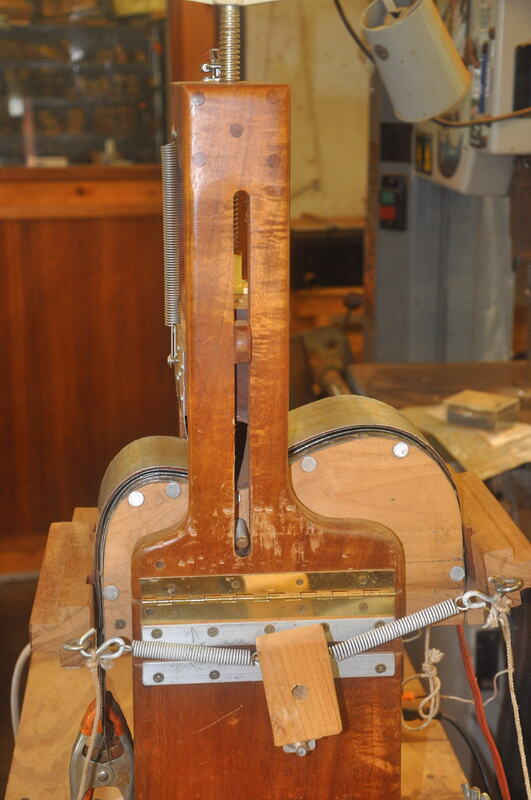
I use a modified Fox style bender and a bending blanket. Because I like to bend my wood from the tail end, I have modified my bender with a hindged side, so that it opens up.
When I am ready to bend, I dip the binding pack in water. I don't let it soak, because that makes curly wood more likely to come apart on the curl. You will often see builders mention Super Soft veneer softer to aid in bending. I have not found it useful. Unless your water supply is contaminated with a lot of minerals, you also don't need distilled water.
The bending package I use is made of 5 layers. From the bottom up, stainless steel slat, wood in paper, stainless steel slat, bending blanket, aluminum flashing. I used to use all aluminum flashing, but now I use 2 pieces and only have the thin aluminum flashing on top to protect the blanket from the bending cauls.Thin stainless is available from John Hall at Blue's Creek Guitars. Tell him I sent you!
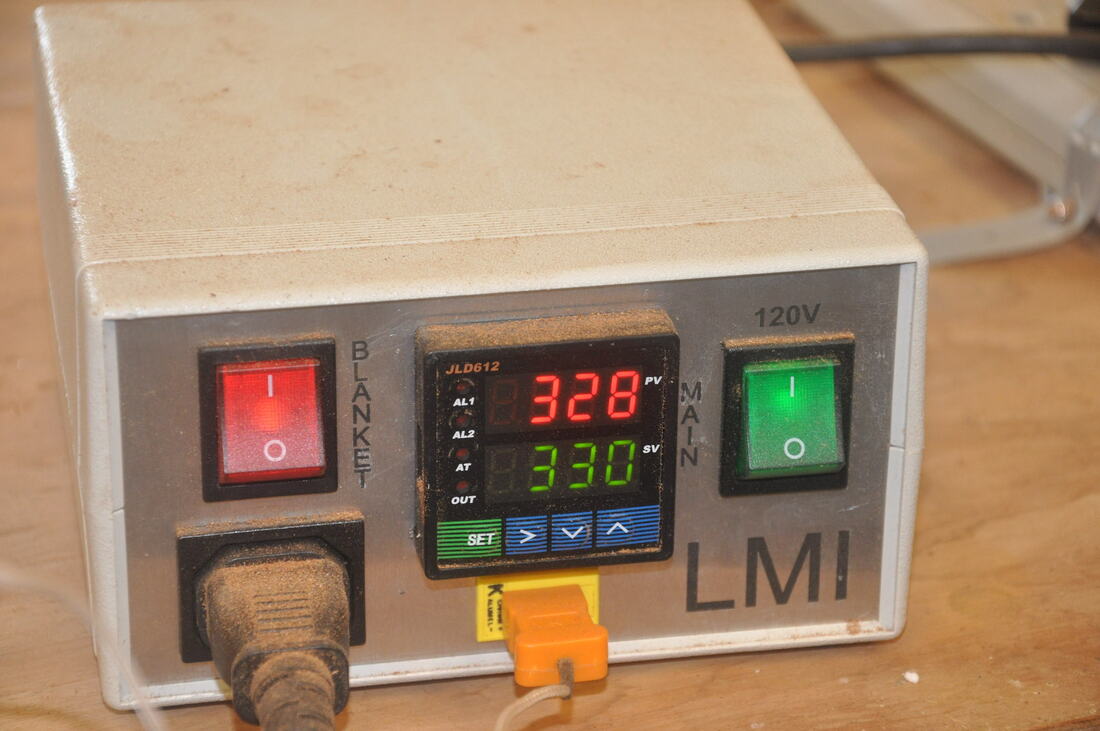
Here you can see how I start bending from the tail. My blankets are plugged into a thermostatic heat control and a timer. They are no absolutely necessary, but very helpful and safe to use. A blanket without an automatic shut off timer is a bit dangerous. You can get cheap manual timers from places like Graingers and they easily hook to a standard outlet.After I get everything lined up, I turn on the blanket and set it to 320 degrees, and open up the hindged part of the bender. When the temperature gets to about 250+ degrees, the wood will start bending over on its own. The weight of a couple of spring clamps gets the bend going. I run the waist press caul down until it is 1/4" or so off the mold. Then I do the front bend. Finally I go back and tighten down the waist caul.
Binding bending completed
I have bending molds made out of a lot of different materials. each one requires slightly different heating times. For example, I set the time on 12 minutes for tenor ukulele sides. After the sides are bent and cooled down, I undo the front caul and check for springbuck. If there is any, I run the temperature to 300 degrees and then turn the heat. That usually takes care of any springback issues.
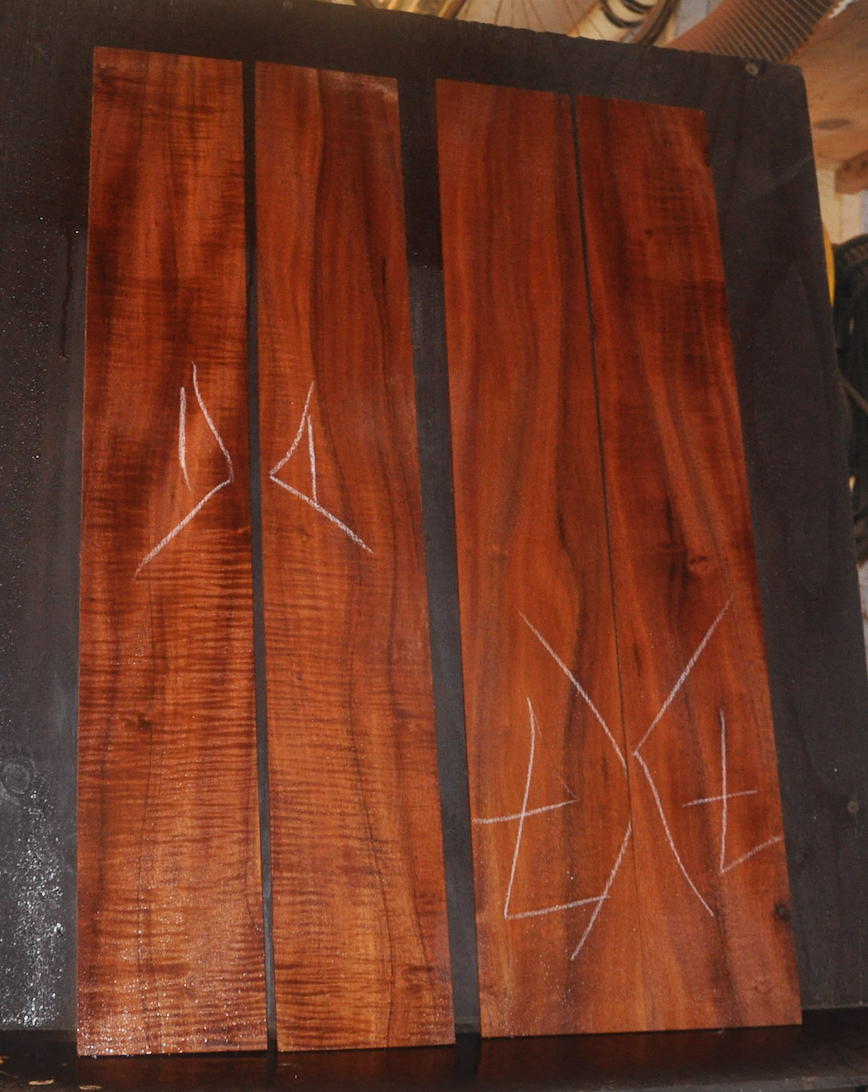
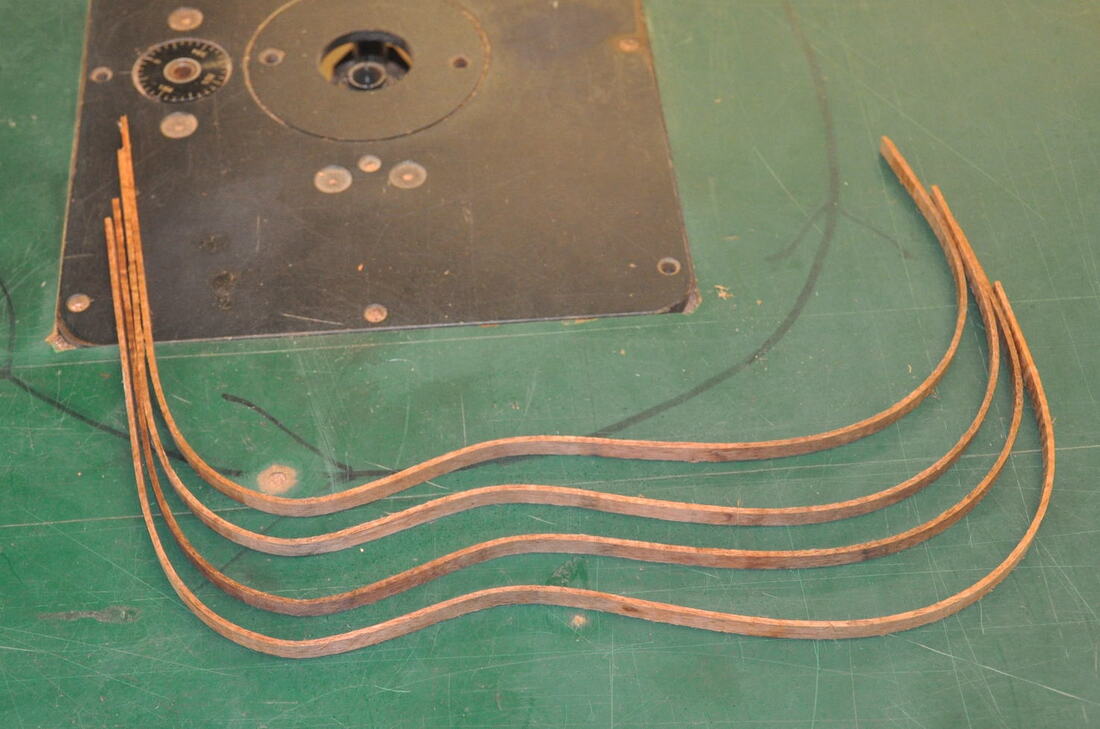
The bent bindings normally stay bent to shape and do not require any holding mold. There are 4 pices here instead of the 5 that I started with because I clumsily broke 1 piece while I was taking the tape off. That's why I always make extra!!
