Joining Top & Back Plates
There are many different jigs for joining top and back plates. Here is the one I use. It’s simple, quick to make, and cheap.
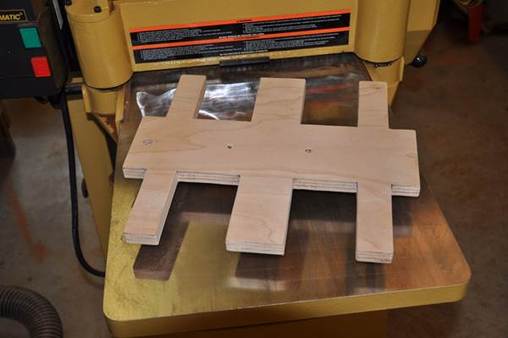
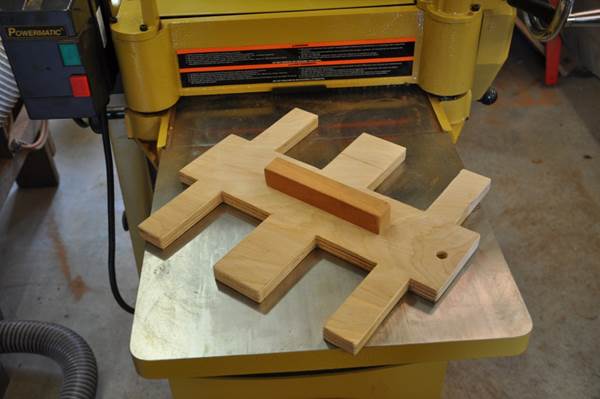
The main frame is made out of a flat piece of ¾” plywood. For tenor and concert size ukuleles, my jigs are 12” wide and 14” long. The center section is about 4” wide. For other sizes, you will need to make larger or smaller jigs. The bottom of the jig has a cleat added to allow clamping it in a vise.
|
|
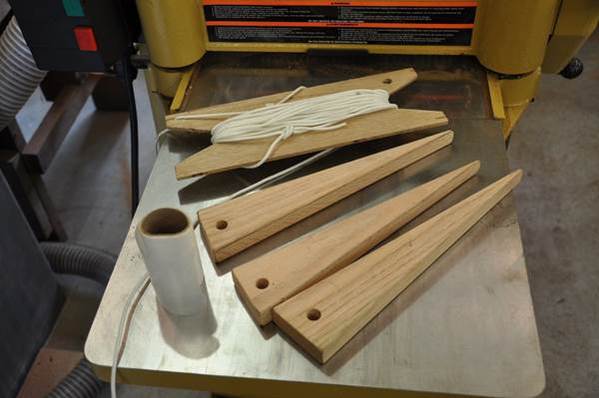
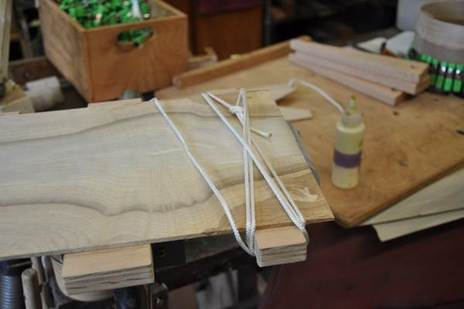
All of the parts necessary are easy to find. Besides the jig base, you will need 3 wooden wedges, a length of nylon cord, and some wax paper. A tenor takes just under 50’ of cord. I cut up rolls of wax paper on my bandsaw for various tasks.
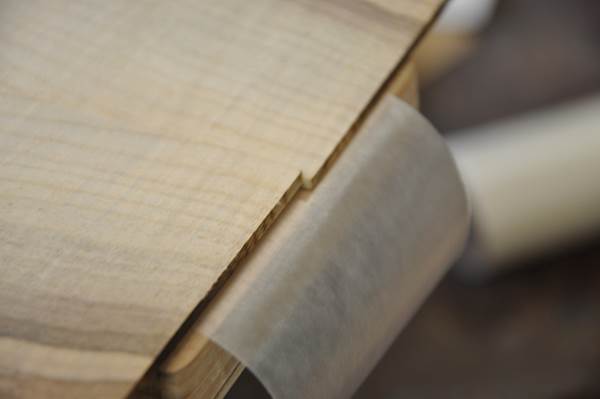
Once you have prepared the edges of your book matched plate for joining, center it on the jig with a strip of wax paper under the joint.
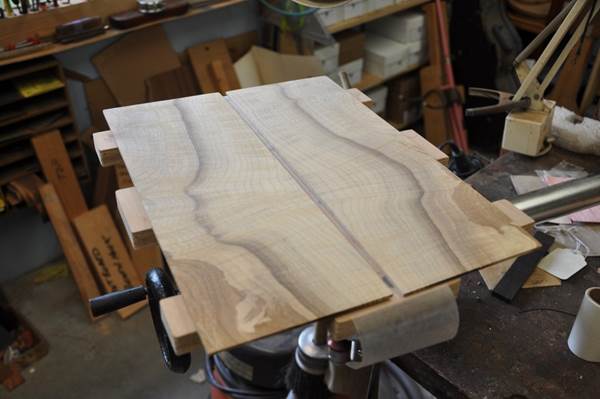
Place your glue on the plate halves edges, bring them together, and put another strip of wax paper on top of the joint. It is always a good idea to slightly misalign the plates at the joint to allow for easy location of the centerline later. With a good job of jointing the edges, you will find that it can be impossible to find the centerline once you have sanded away the glue.
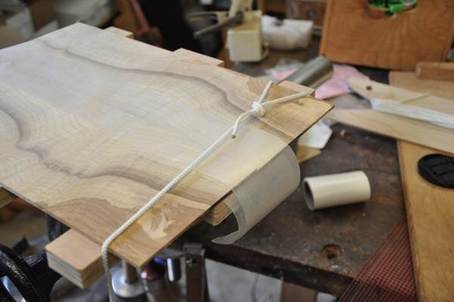
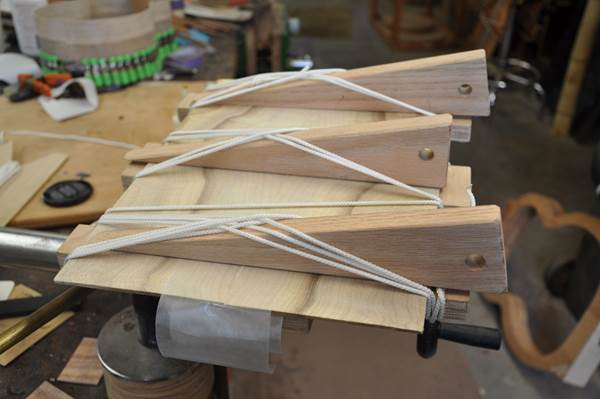
When the plate halves are in place, begin the tie process. I tie a loop on a starter end of the cord and place it over an end leg on the jig. I loop the cord around the opposite leg 2 or 3 times before moving on to the middle leg. Repeat the same looping process on the middle and other end leg.
|
|
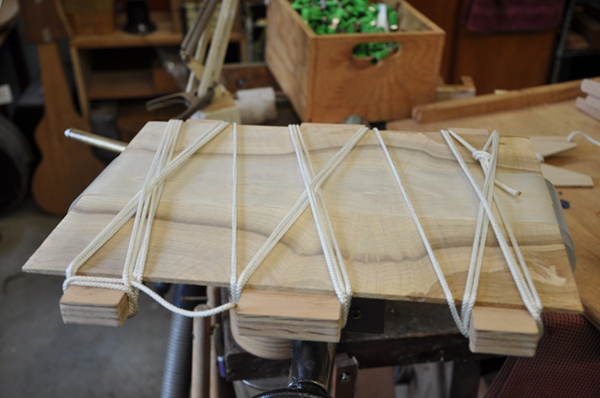
When the looping is complete, simply tuck the end of the cord under itself and insert the wood wedges. You don’t need to really drive the wedges in hard. Just make them good and snug. I think common sense will guide you well. The wedges tighten the clamping pressure, while also keeping the 2 halves completely flat across the joint. This jig is so light and compact that you can afford to have a few of them around.
Good luck with your building! Any questions, contact me at [email protected]