How I Bend Guitar & Ukulele Sides
I have put many photos on this page, so it will be slow loading. This tutorial shows how I bend an ukulele side, but the side bender used is universal and I bend guitar sides the same way. I simply switch out the mold for various sizes. This bender will do for a soprano ukulele all the way up to the largest guitar. Other builders will have their own take on this process, but this works for me.
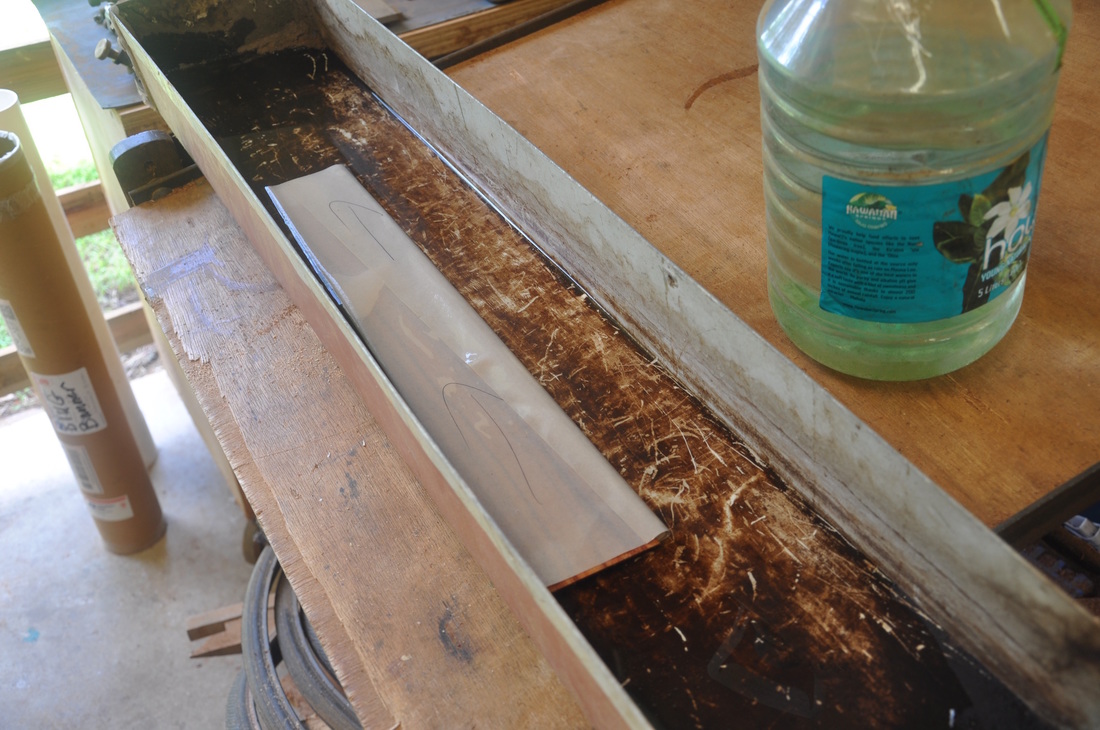
My ukes sides are normally thinned and finish sanded to about 1.7-1.8mm thick. I wrap the side in a couple of layers of craft paper, marking the front and back on the paper making sure to remember the orientation of the side. It is very easy to bend a side in the wrong direction!
My ukes sides are normally thinned and finish sanded to about 1.7-1.8mm thick. I wrap the side in a couple of layers of craft paper, marking the front and back on the paper making sure to remember the orientation of the side. It is very easy to bend a side in the wrong direction!
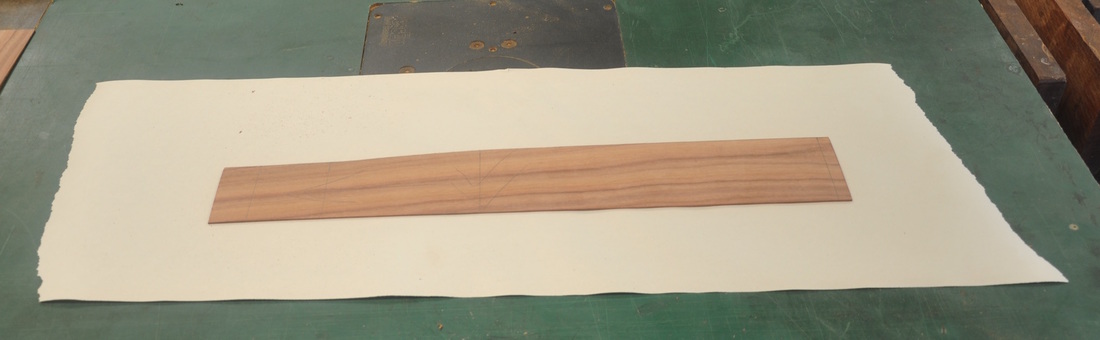
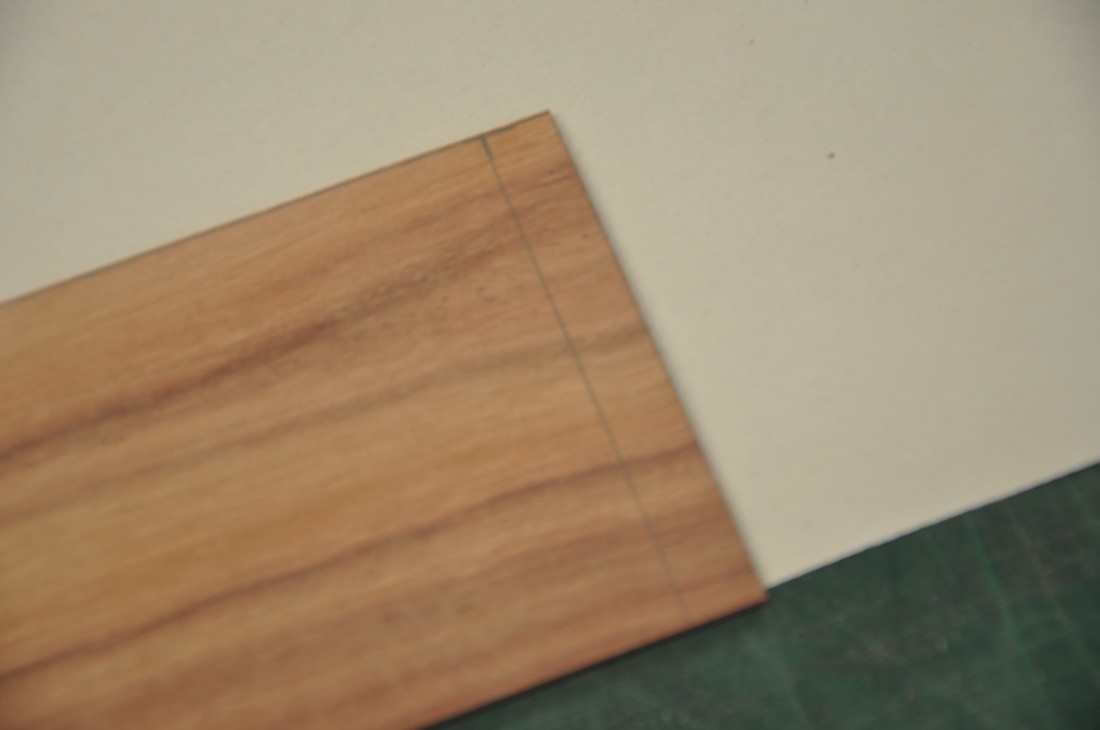
I leave 10mm of extra length on the tail. As you will see, I always start bending from the tail end of the side. That gives me a better chance of having a nice grain match at the tail than if I start at the waist. Most builders start the bending at the waist. That works too.
I then put the side and paper into a cold water bath, just to wet it. I don't soak it for any period of time. Older books will tell you to use hot water, but koa, especially curly koa, does not like hot water. The curl tends to dissolve if the water is hot.
I have all kinds of molds. Many are covered with aluminum sheeting or stainless steel, and some are just wood. You definitely don't want to use blue steel. Many woods can get badly stained from contact with other than aluminum or stainless. They both work fine. An all wood mold is just a bigger heat sink and the bending blanket will have to be left on longer.

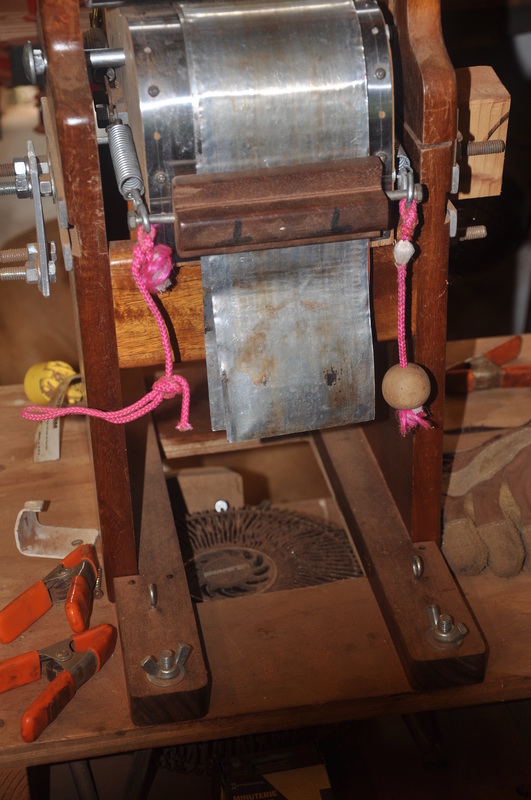
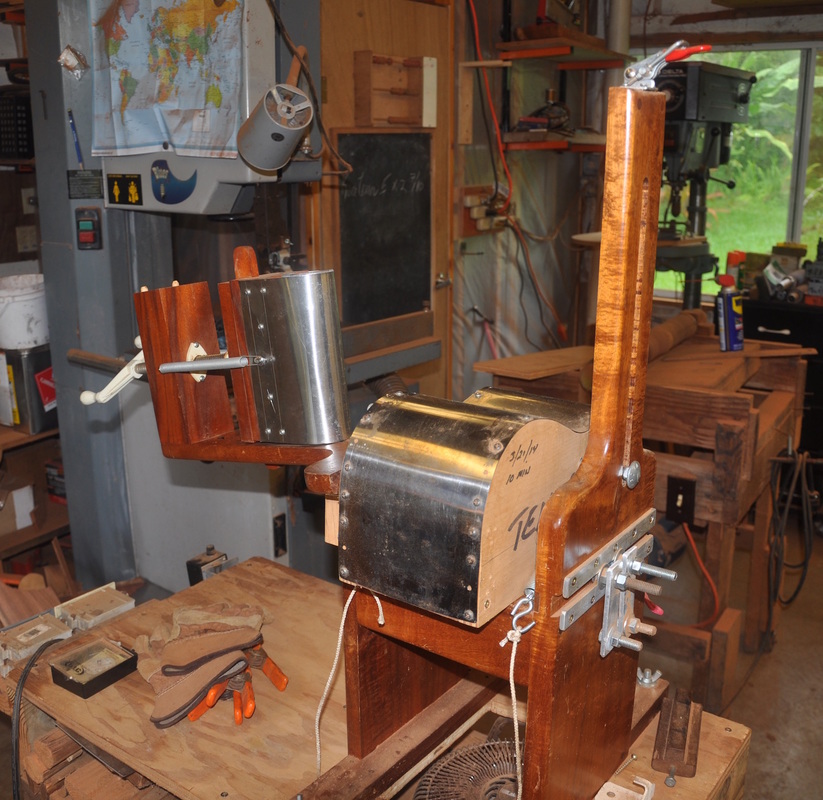
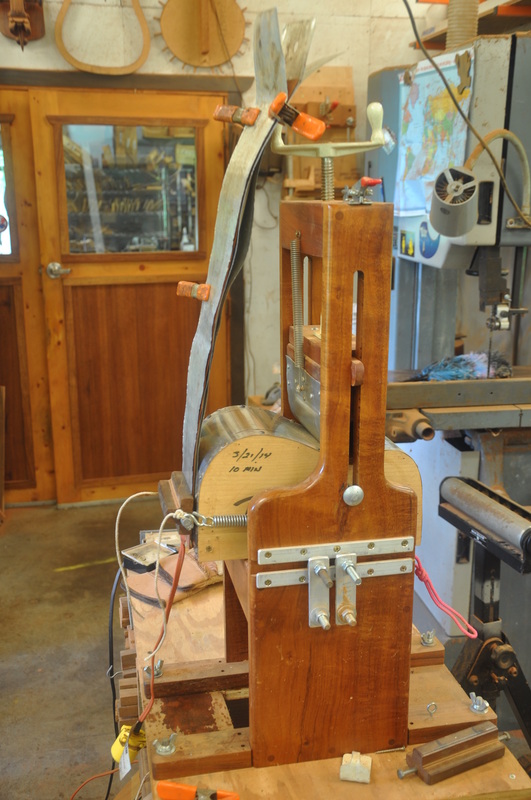
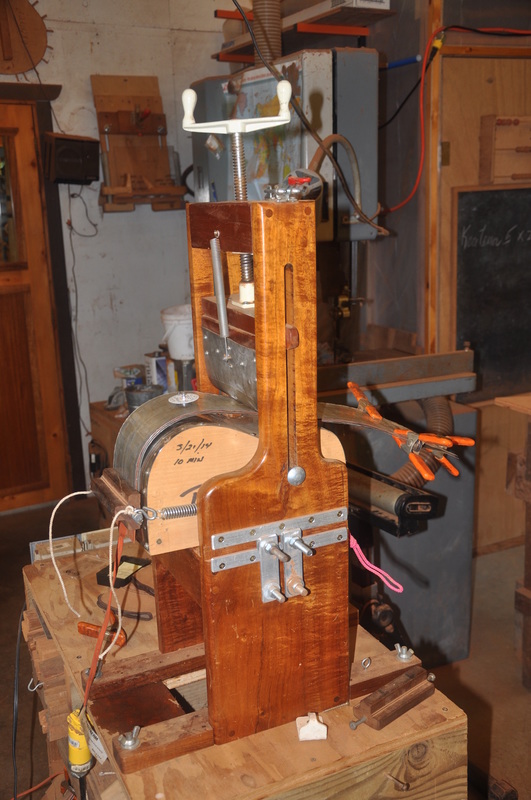
This is my bender. It is pretty much like any other bender except that it is hinged to open so that I can do my side bending starting at the tail. The various gizmos on the side of the bender are moveable to accommodate different spring lengths for different size molds. Some of my molds have the springs attached to the mold itself, and some use the anchors on the side of the bender. Mostly uke molds have springs attached to the molds, and guitar molds use the attachments on the side of the bender.
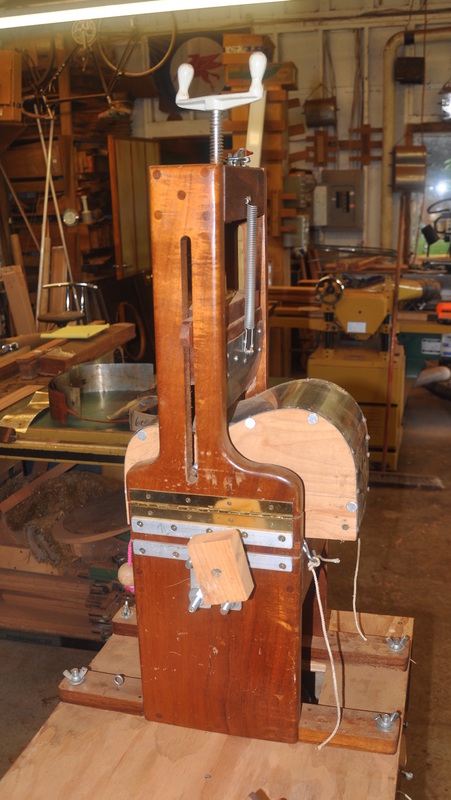
When I decided I wanted to start my bends at the tail, I simply took my bender to the table saw, cut it, and hinged it.
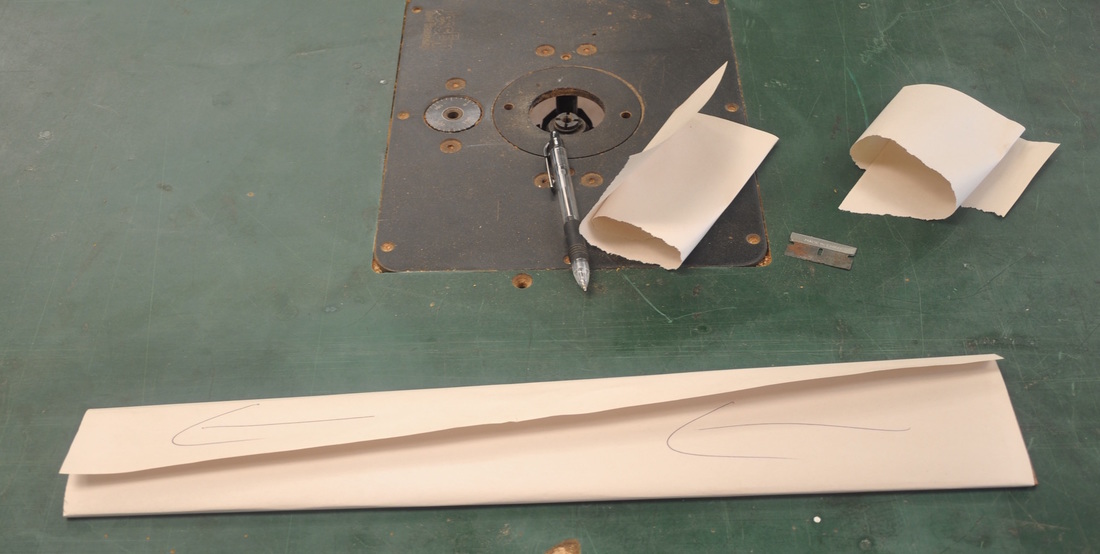
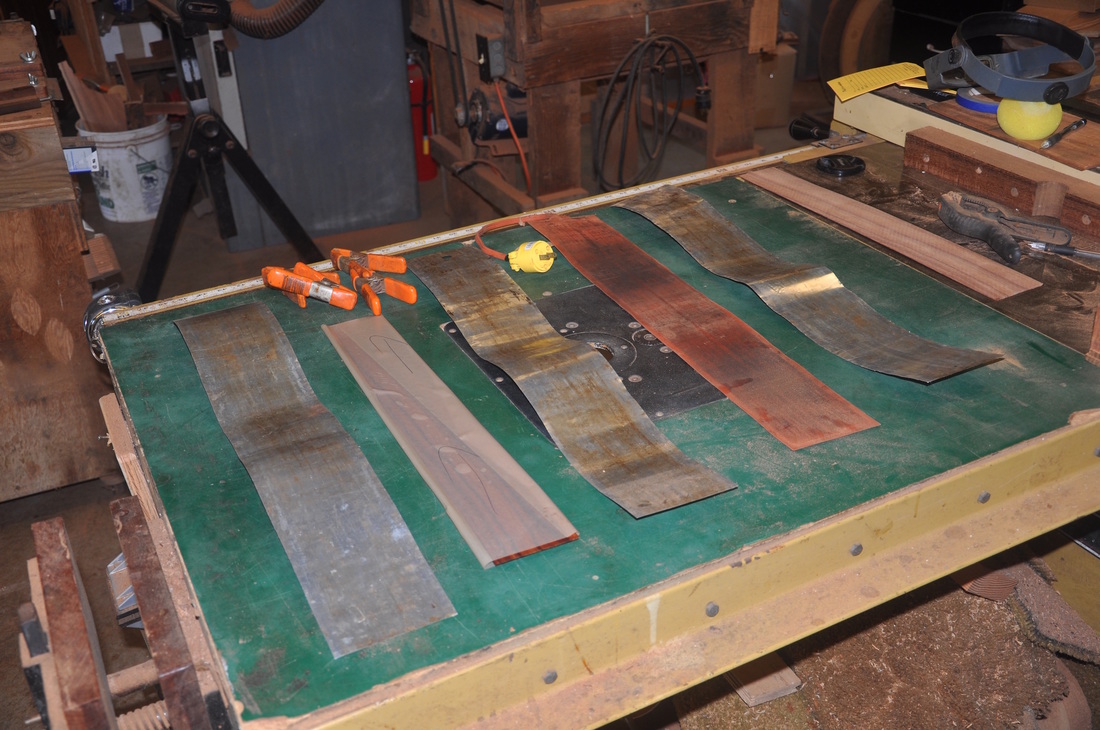
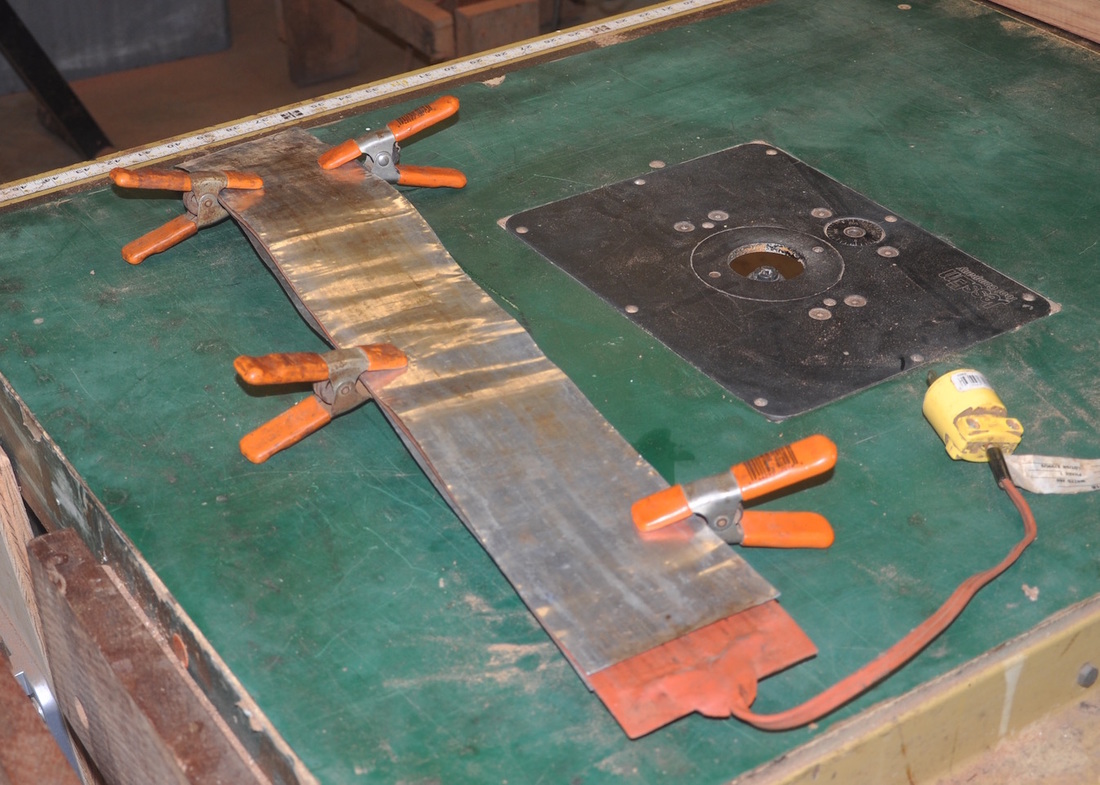
This was my layout for the bending package for many years. I used hardware store aluminum flashing for side support. The package was, from bottom to top, aluminum flashing, the side in wet paper, aluminum flashing, the blanket, and aluminum flashing on top. I clipped this together with spring clamps to get it onto the bender. I have modified that and exchanged the the 2 lower sheets of aluminum flashing for stainless steel sheets with aluminum flashing still used as the top sheet. For heavily figured wood, the stainless provides better support.
Here I'm starting the bending process from the tail end of the side. I have a mark on the mold that exactly matches the tail of the uke, plus 10mm. That extra 10mm gives me just a little room to fudge if I need to.
I used to use a manual timer and router speed controller rheostat, which worked fine. I need to update this photo because I now use a real temperature controller instead of the rheostat. Just gives me a little more control, but they both work.
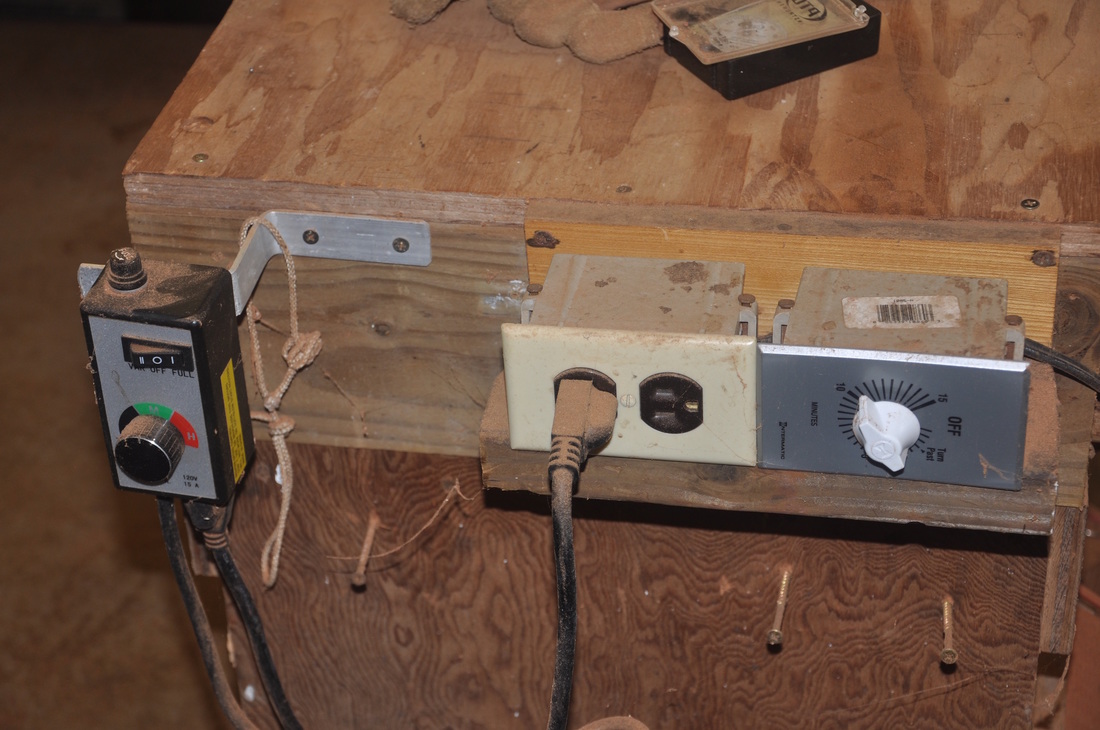
I turn the rheostat on full and the side begins to bend itself. I set the timer on anywhere from 10-13 minutes, depending on the construction of the mold.
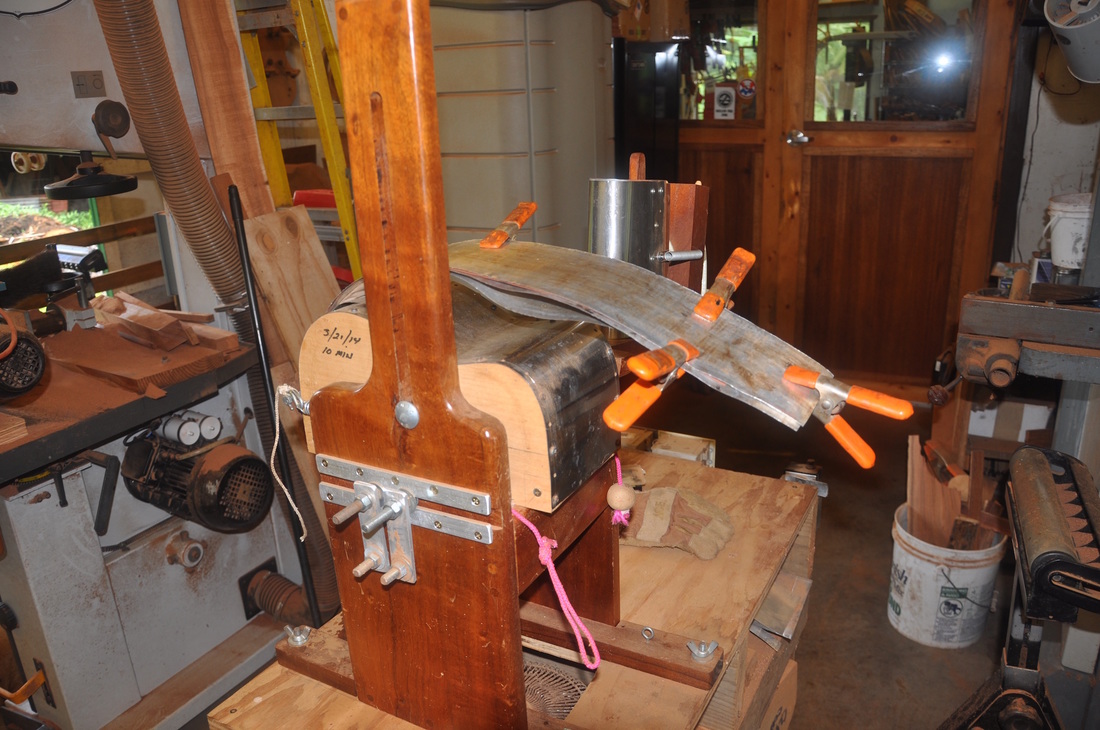
Once the side is bent far enough, I close up the hinged bender side and continue with the bend.
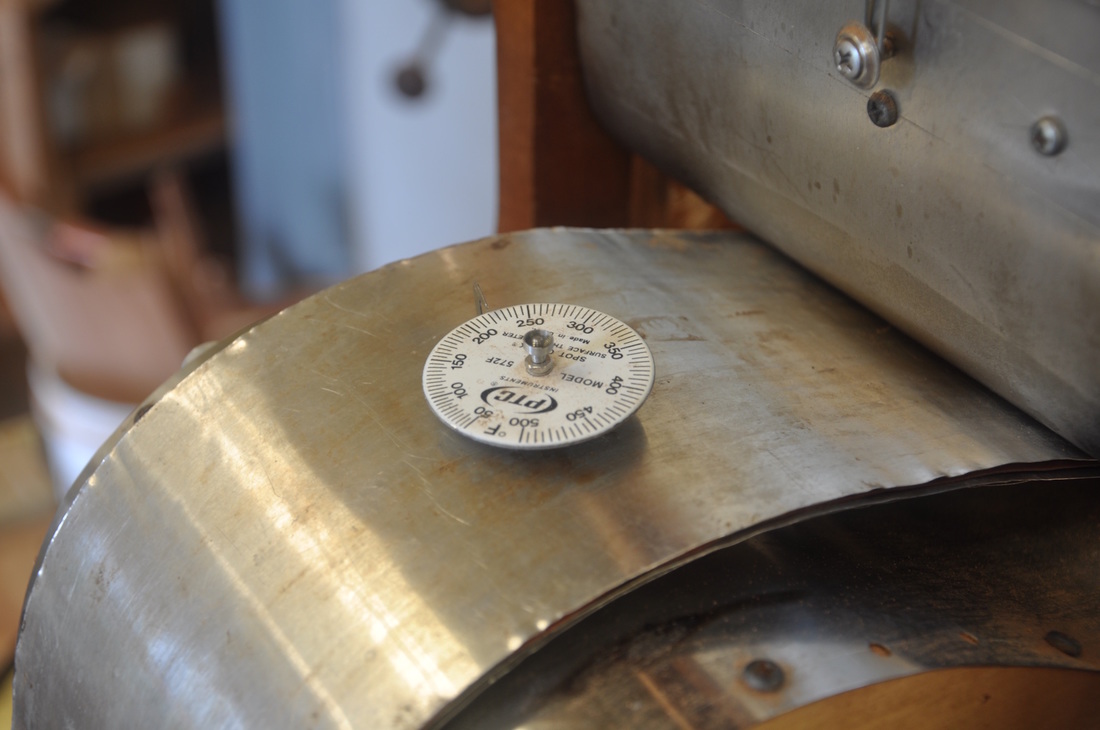
Before I changed to my new temp controller,I used a surface temp gauge from Stew Mac to see my temps.. I normally start bending down the waist at about 275 degrees. By the time I get everything bent and clamp, the temp is heading for 350. I then turn the rheostat to "Variable" and try to keep the temp around 300-325 degrees. It takes some trial and error to figure out the settings at first. Generally, my rheostat ends up getting set at the bottom of the high range section on the dial.
And there you have it!

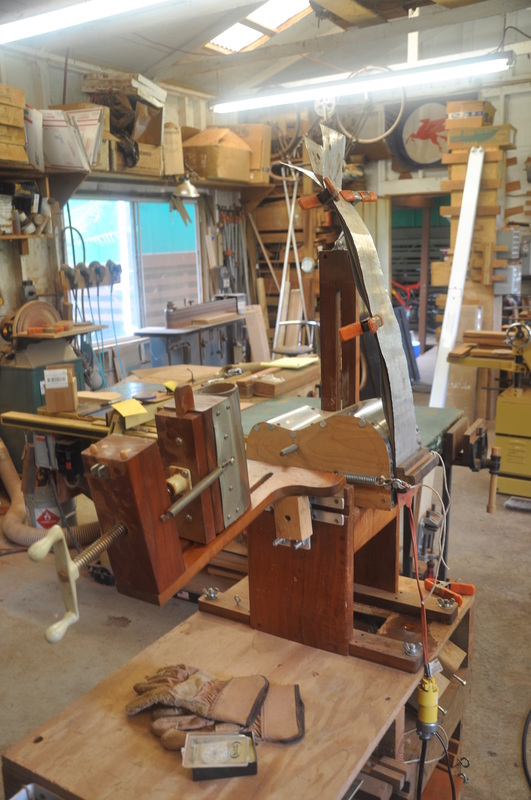
When you release the clamps, after everything has cooled, there should be little or no springbuck on the side. Here you can see that the paper covered side continues to hug the mold without the clamps. You can also see the fan that I have which is directed up into the mold. It allows me to cool the sides faster. If there is springback in the sides when I unclamp the ends, I put the clamps back on and turn on the blanket again for 3-4 minutes. That normally takes care of the springback issues.