Binding Soundports
Binding soundports can be difficult. To some builders it seems to be easier than others. I have never been satisfied with my attempts in the past. What I detail here is not meant to be a "How To" do it, but hopefully will be useful to some as a stepping off point to find their own better way. I have recently changed to a router based technique, which I find easier for me. It is still an evolving story, but this is where I am at now.
I have wanted a design with an inner binding ring that is wider than I can bend in one piece and that showed no joint where ends meet. Bending thinner pieces and stacking it up was unsatisfactory.
I use cast plexiglas templates and a router with a 3/32" bit. The original templates I made by hand. That involves some math and a lot of experimental trial and error work. The hand made templates worked, but I decided to try having some templates made by a local laser operator. Instead of having the template for the inner ring made to exact size, I had it made to cut a slightly larger dimension. This allows me to hand fit the ring for the different purflings I use. Some are 10/10/10 and others vary up to 10/20/10. The laser cut templates work a little better than my original hand made ones, but if you work at it a bit the hand made ones will work fine.The laser templates work slightly better, but still not perfect. In addition to good templates, the router has to be set up with the bit centered as perfect as possible in the template guide. Woodworking supplies sell various cheap aids for centering bits.
If you decide to try this. I suggest you first process a number of pieces of wood into exactly the same thickness to allow for plenty of experimentation. I spent a couple of days experimenting with different size bits and template guides before I got what I liked. For the actual side, I sanded the side to about .5mm thicker than the finished thickness. This allowed room to clean up the glue.
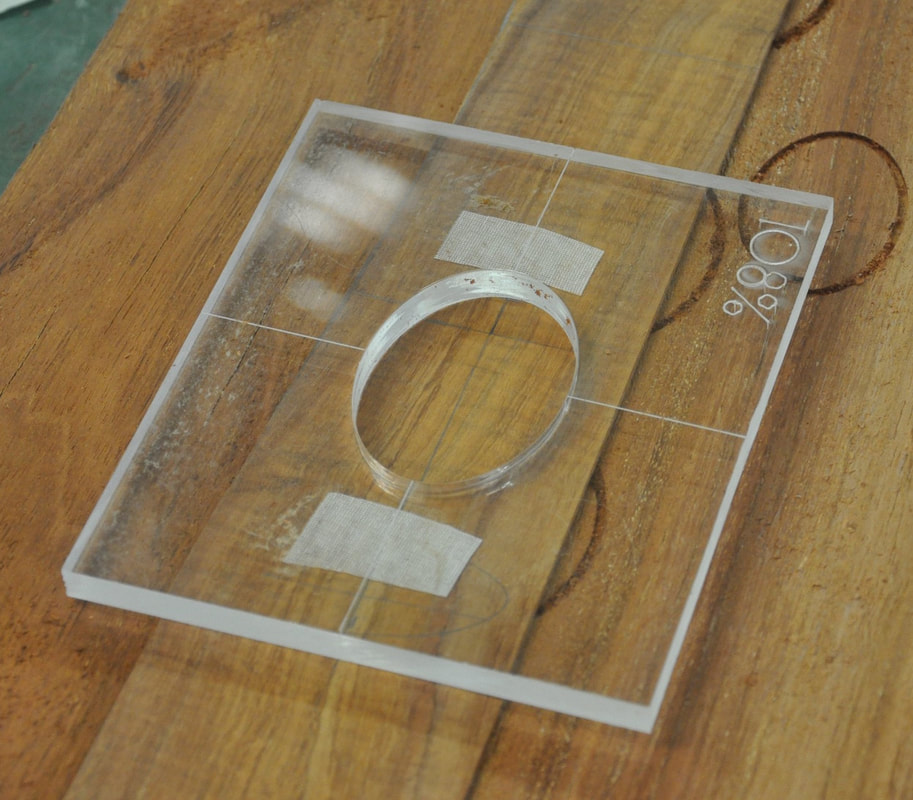
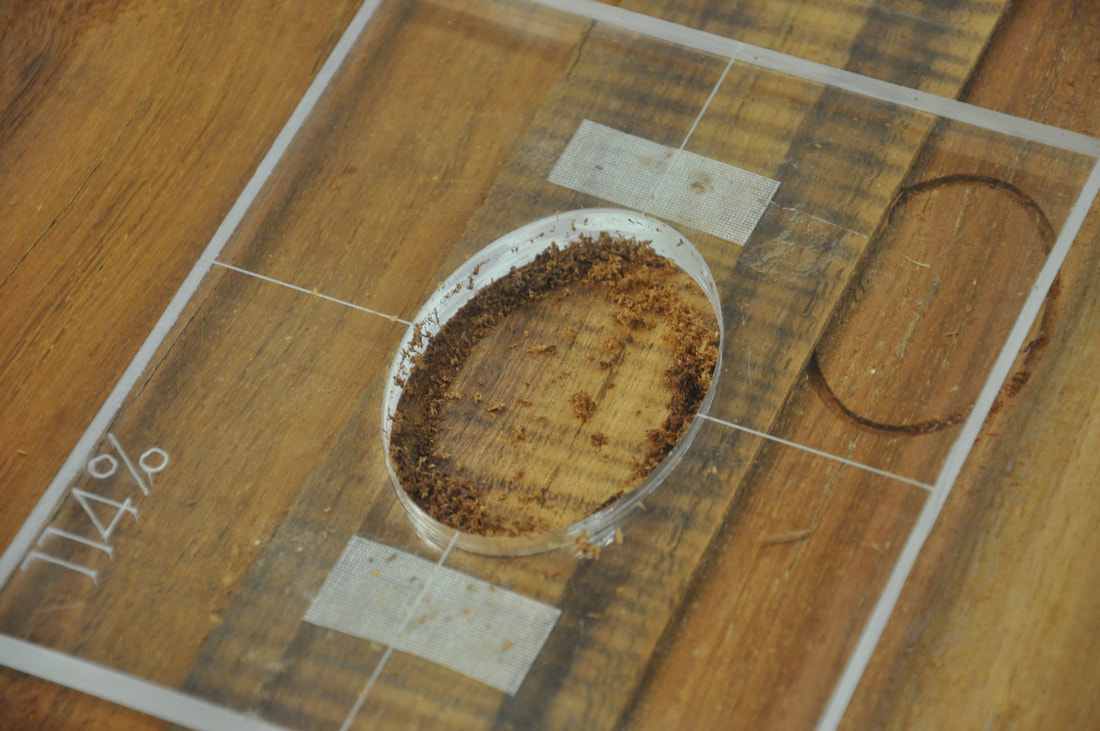
To start, I sanded the side and used a template to profile the side. This is a tenor ukulele and I want my soundports to be about 110mm from the neck center line. I marked out that point and centered the plexi template at the correct spot. The side is double stick taped down, and the plexi template is double sticked taped down on the side. A plunge router is the best to use for this process, and that is what I use.
I have wanted a design with an inner binding ring that is wider than I can bend in one piece and that showed no joint where ends meet. Bending thinner pieces and stacking it up was unsatisfactory.
I use cast plexiglas templates and a router with a 3/32" bit. The original templates I made by hand. That involves some math and a lot of experimental trial and error work. The hand made templates worked, but I decided to try having some templates made by a local laser operator. Instead of having the template for the inner ring made to exact size, I had it made to cut a slightly larger dimension. This allows me to hand fit the ring for the different purflings I use. Some are 10/10/10 and others vary up to 10/20/10. The laser cut templates work a little better than my original hand made ones, but if you work at it a bit the hand made ones will work fine.The laser templates work slightly better, but still not perfect. In addition to good templates, the router has to be set up with the bit centered as perfect as possible in the template guide. Woodworking supplies sell various cheap aids for centering bits.
If you decide to try this. I suggest you first process a number of pieces of wood into exactly the same thickness to allow for plenty of experimentation. I spent a couple of days experimenting with different size bits and template guides before I got what I liked. For the actual side, I sanded the side to about .5mm thicker than the finished thickness. This allowed room to clean up the glue.
To start, I sanded the side and used a template to profile the side. This is a tenor ukulele and I want my soundports to be about 110mm from the neck center line. I marked out that point and centered the plexi template at the correct spot. The side is double stick taped down, and the plexi template is double sticked taped down on the side. A plunge router is the best to use for this process, and that is what I use.

The template for the outer ring.
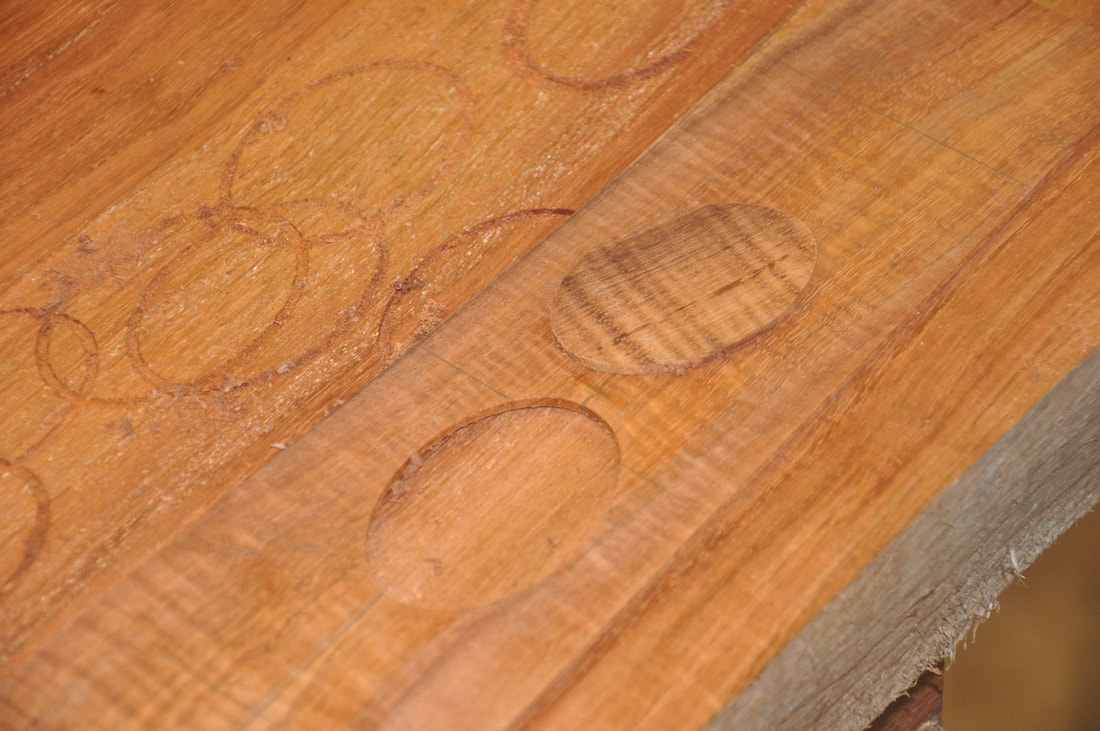
The inner piece from this first cut is discarded.
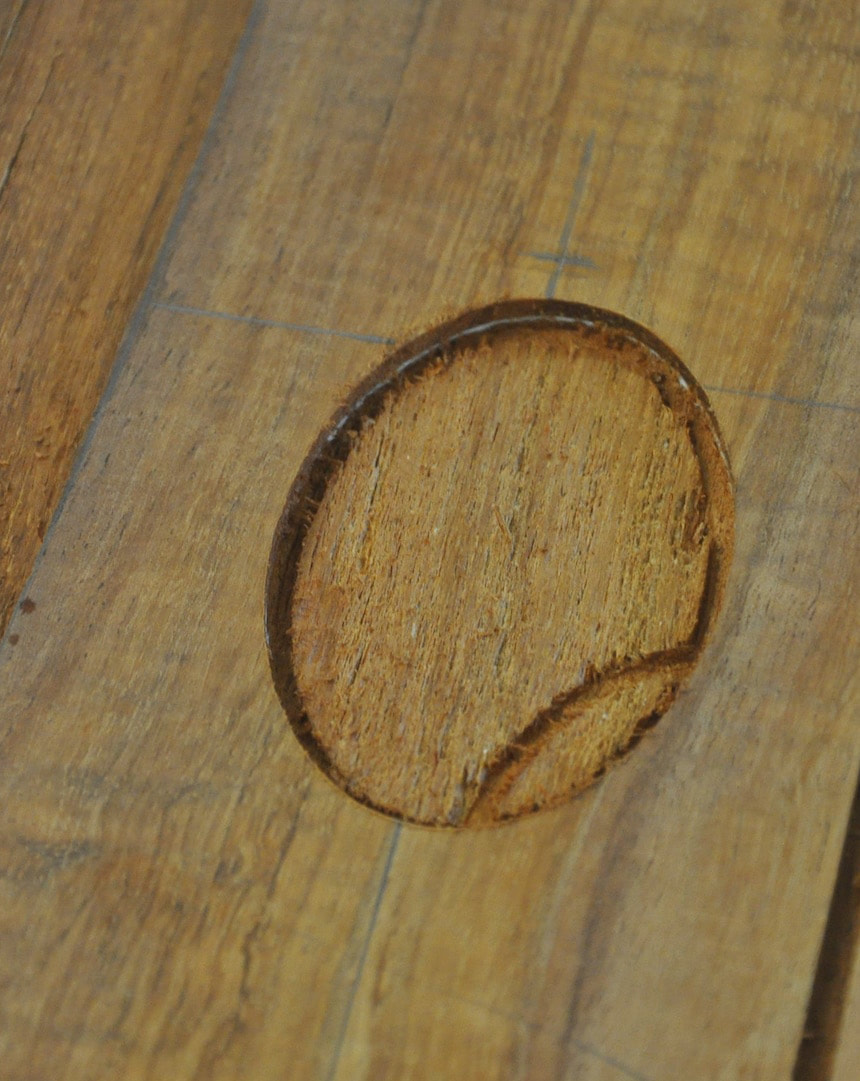
After deciding what wood you want to use for the inner binding ring, a second template is used to make a cut on the desired wood.
The cut out piece from this second cut will become the inner ring.
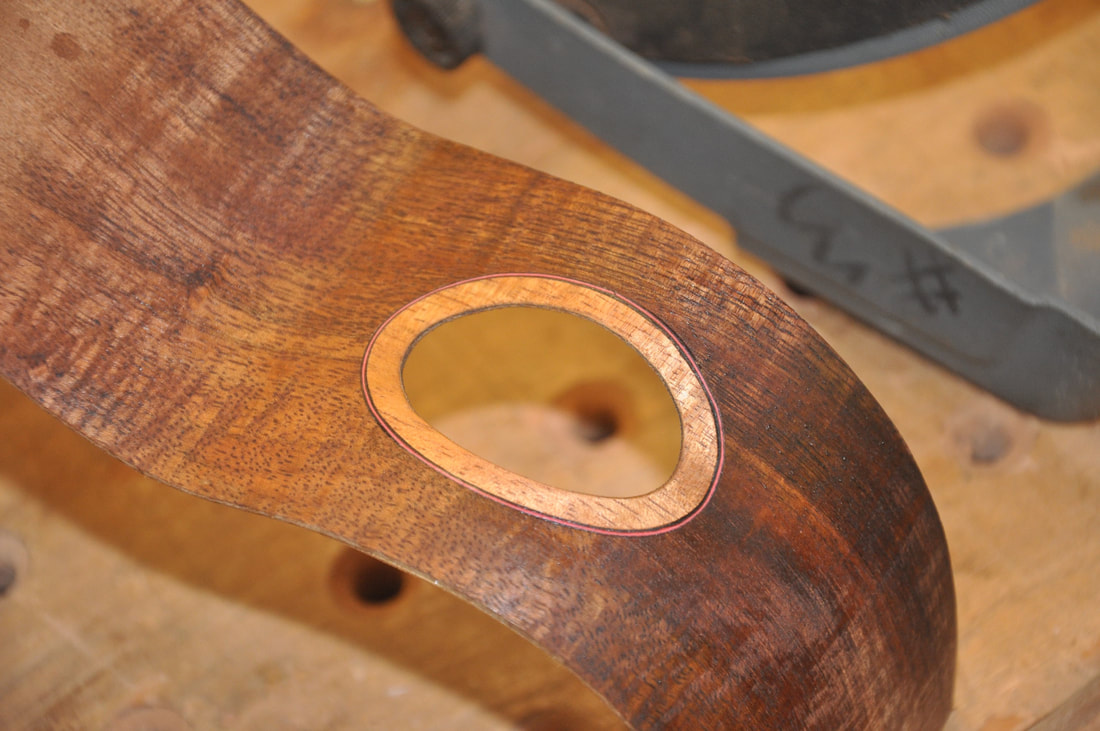
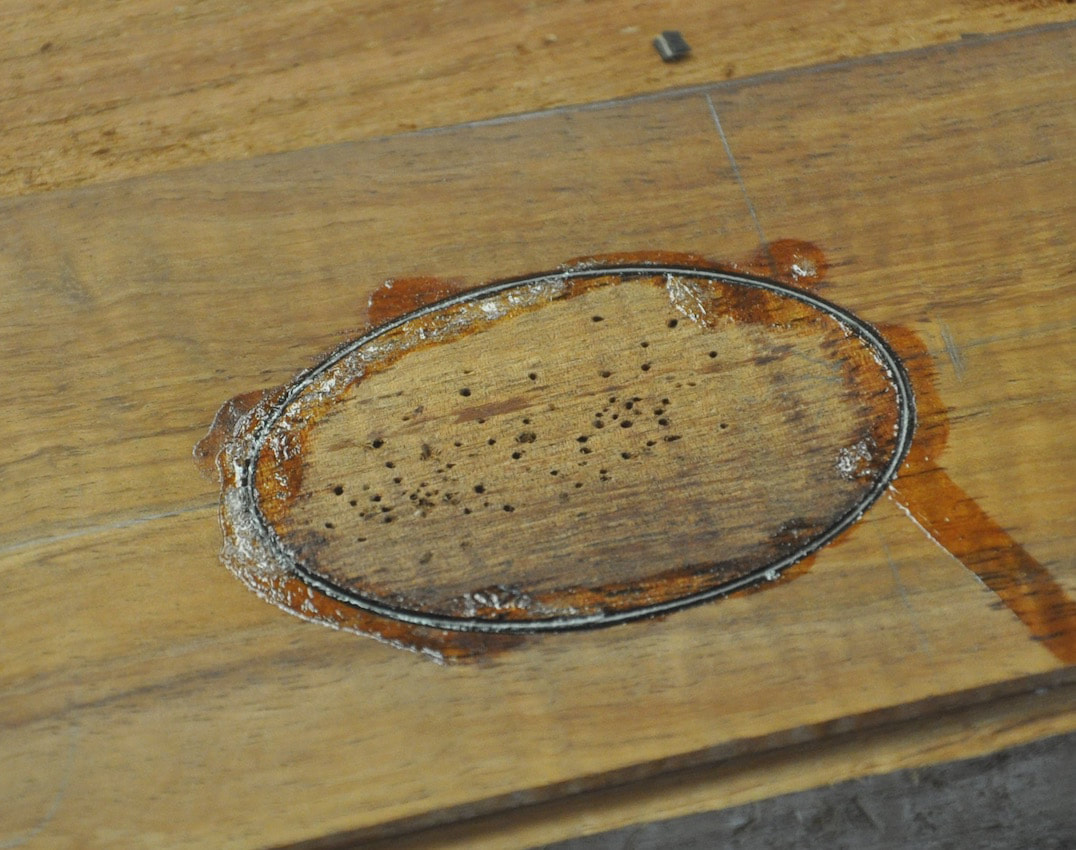
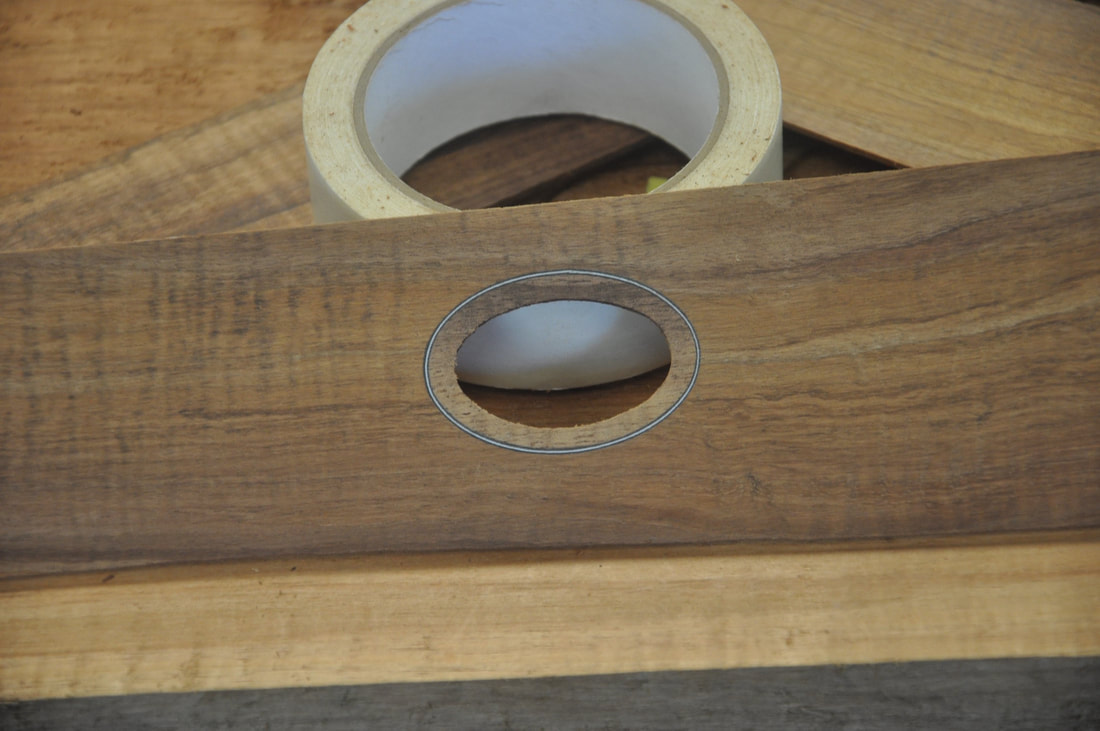
Here is the soundport glued up with the purling installed. I use a sharp awl to push the wood into place while installing the purling. All the wood with the awl holes will go away when the actual soundport is installed.
Here is the soundport glued up and sanded.
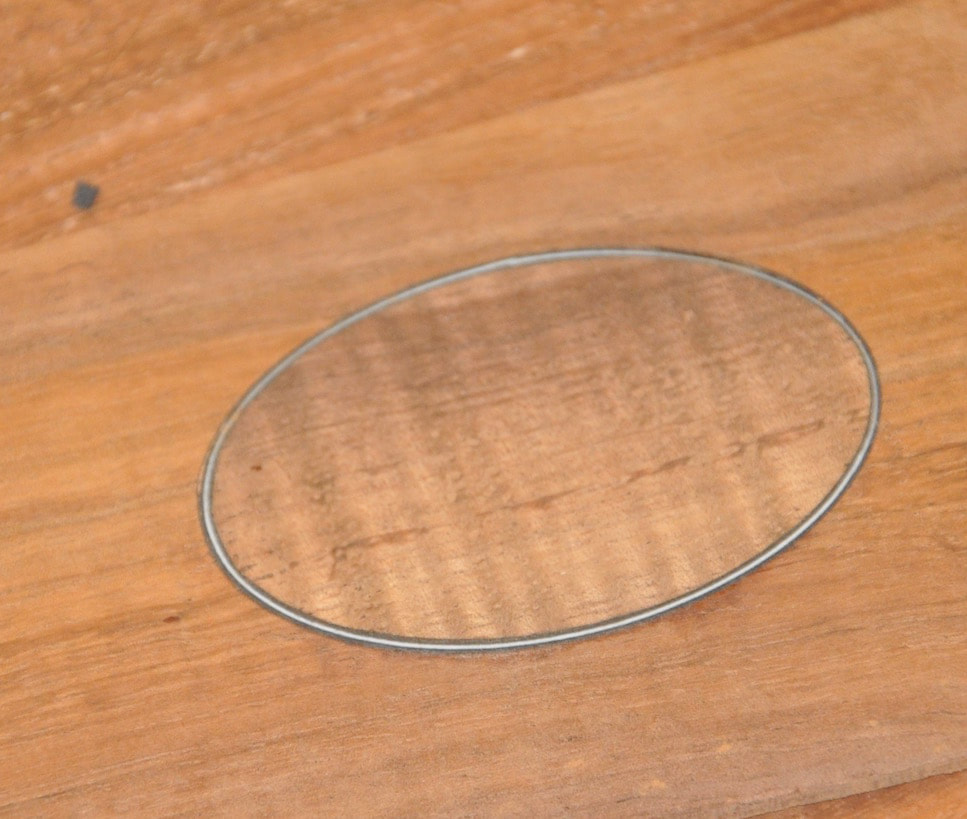
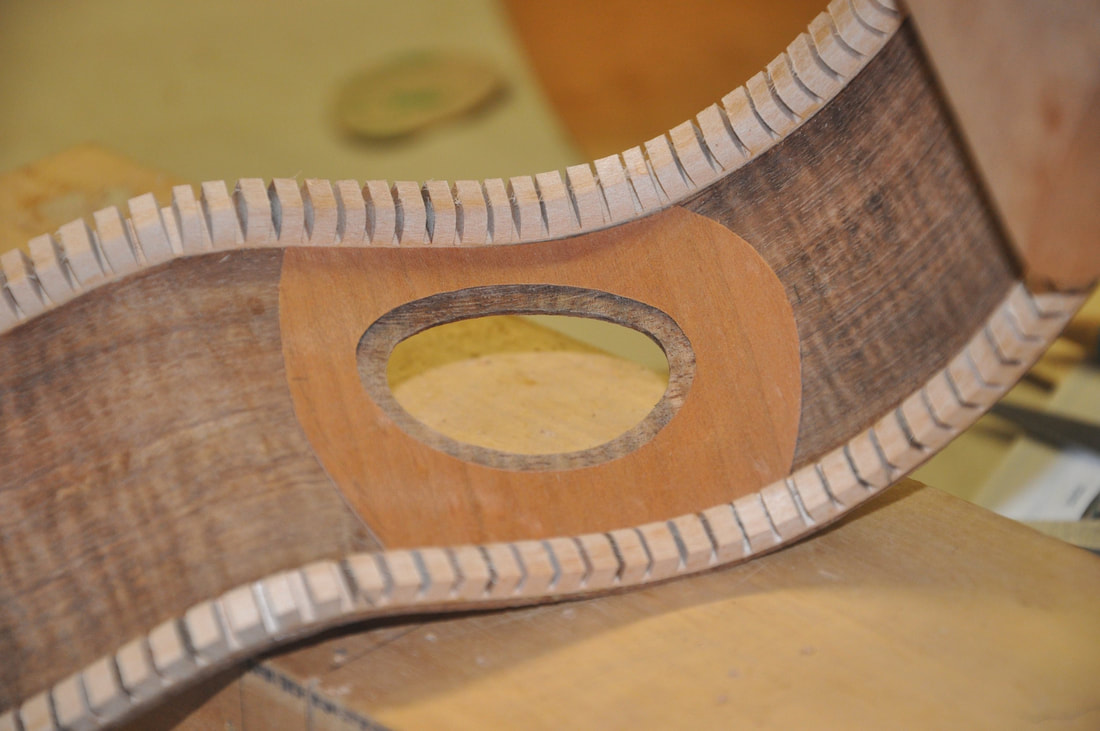
I cut the actual hole with a scroll saw and clean it up with a Dremel sanding drum.
The last step is to bend the side in the bender as usual. I've done 8 of these so far and the binding has never come apart when bending with a mold and a blanket. I use superglue for this and do not know if Titebond would also work.
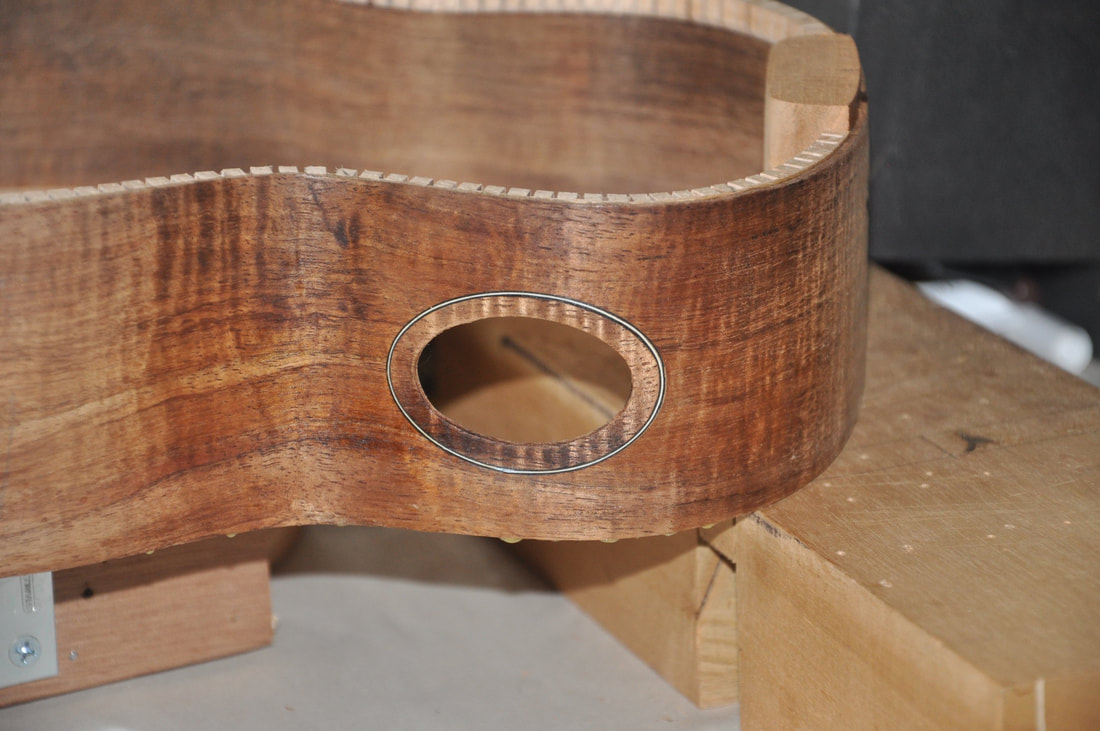
When the rims are assembled, and the kerfing is in, I add a backing, keeping it away from the soundport edge so that it is not visible from the outside.
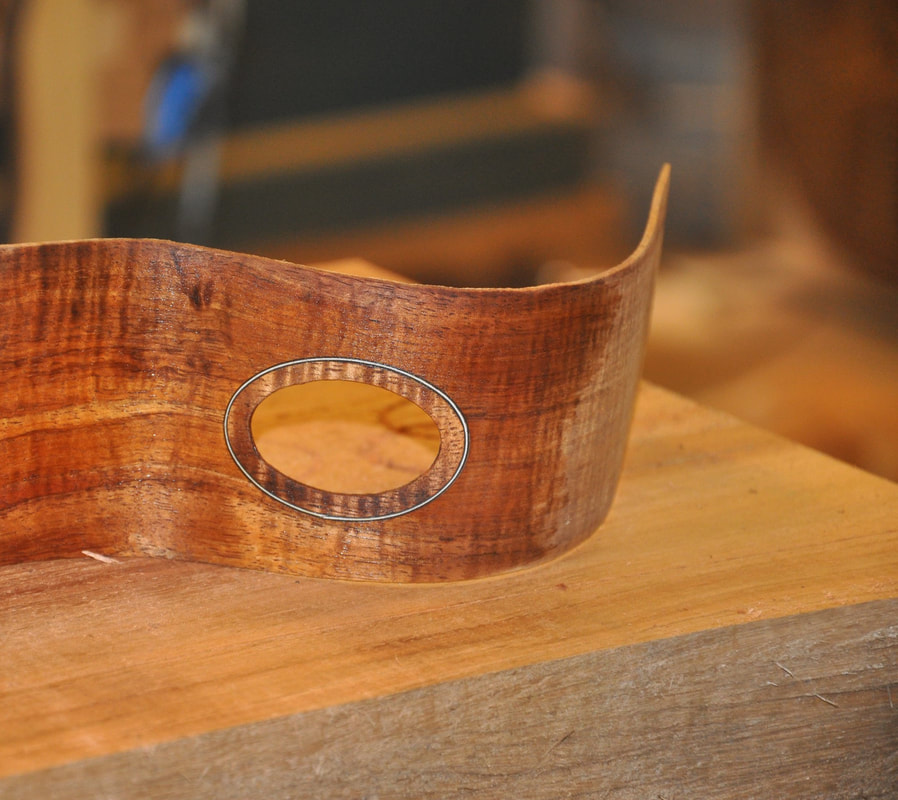
The final product.