How to Make a Simple Drill Press Jig to Radius the Sides For Tops and Backs
It would be optimum to have a dedicated motor driven tool to radius the top and back sides of instrument sides. However, many of us either don't have the room for one, don't want to spend the time and money to make one, or don't do enough building to warrent one. I use a simple drill press driven sanding dish jig. Cheap and easy to make. Slips on and off the drill press in a couple of minutes. I use the same setup for guitars and ukuleles, with 2 different size bases. Ukuleles are very easy to do. Guitars are a little more difficult, actually awkward, simply because of the weight of the sides and mold, and the height of the drill press table. Still works for the few guitars I make.
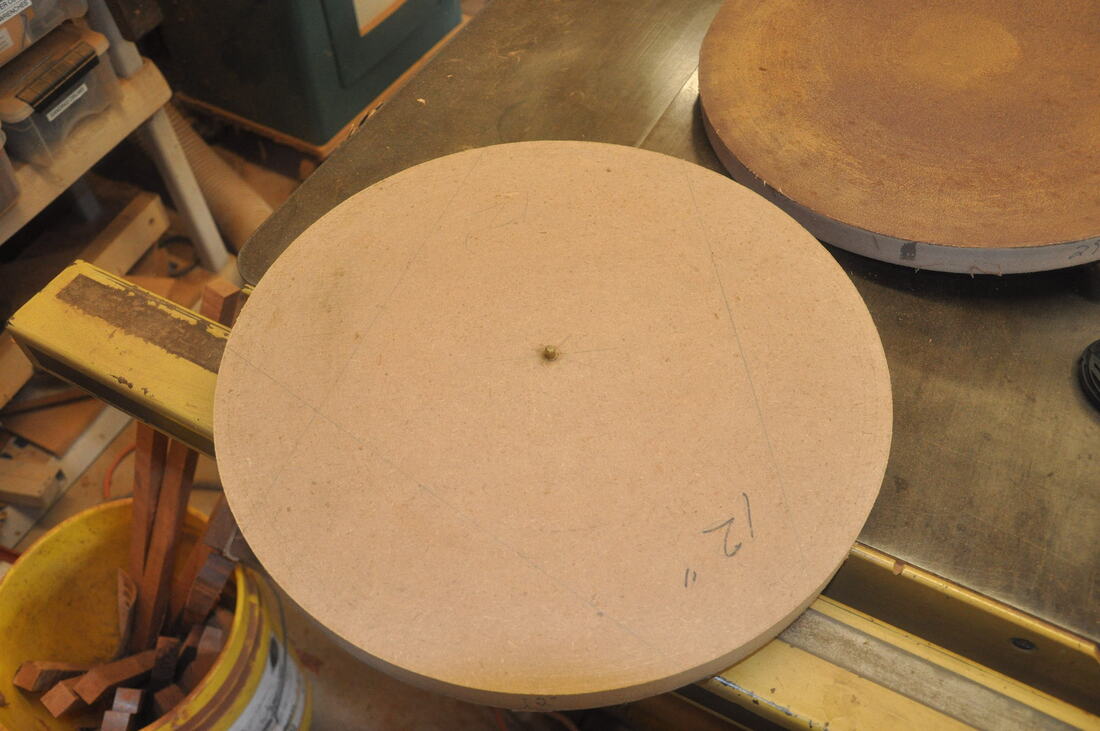
Radius dishes of various radii and diameters can be purchased from many suppliers. If you decide to shop make them yourself, you're in for a day of dusty fun. You can find directions for making your own dishes on the web. Not too difficult and actually come out very useable. That said, do yourself a favor and just buy what you need from a supplier who makes them with CNC. They last forever.Dishes are typically made from particle board because it is quite stable. Particle board differs in name and quality in different locals. If you decide to make your own, If possible you want the waterproof kind. It is not affected by humidity.
Radius dishes of various radii and diameters can be purchased from many suppliers. If you decide to shop make them yourself, you're in for a day of dusty fun. You can find directions for making your own dishes on the web. Not too difficult and actually come out very useable. That said, do yourself a favor and just buy what you need from a supplier who makes them with CNC. They last forever.Dishes are typically made from particle board because it is quite stable. Particle board differs in name and quality in different locals. If you decide to make your own, If possible you want the waterproof kind. It is not affected by humidity.
At the moment, I don't have a uke in progress at the stage that I would be doing the radius sanding. As soon as I have one, I'll change this first photo. The radius sanding is done with the sides in the mold. I radius the sides the first time after the neck and tail block are on and then again after the kerfing is installed. When doing the sanding with out the kerfing you need to be attentive to the task. The sides are very flexible without the kerfing and can catch on the sandpaper. I broke a side a few hundred ukes ago, but not since. If you don't do the innitial radiusing with out the kerfing in, you take a chance of sanding away much of the kerfing height on the final radiusing.
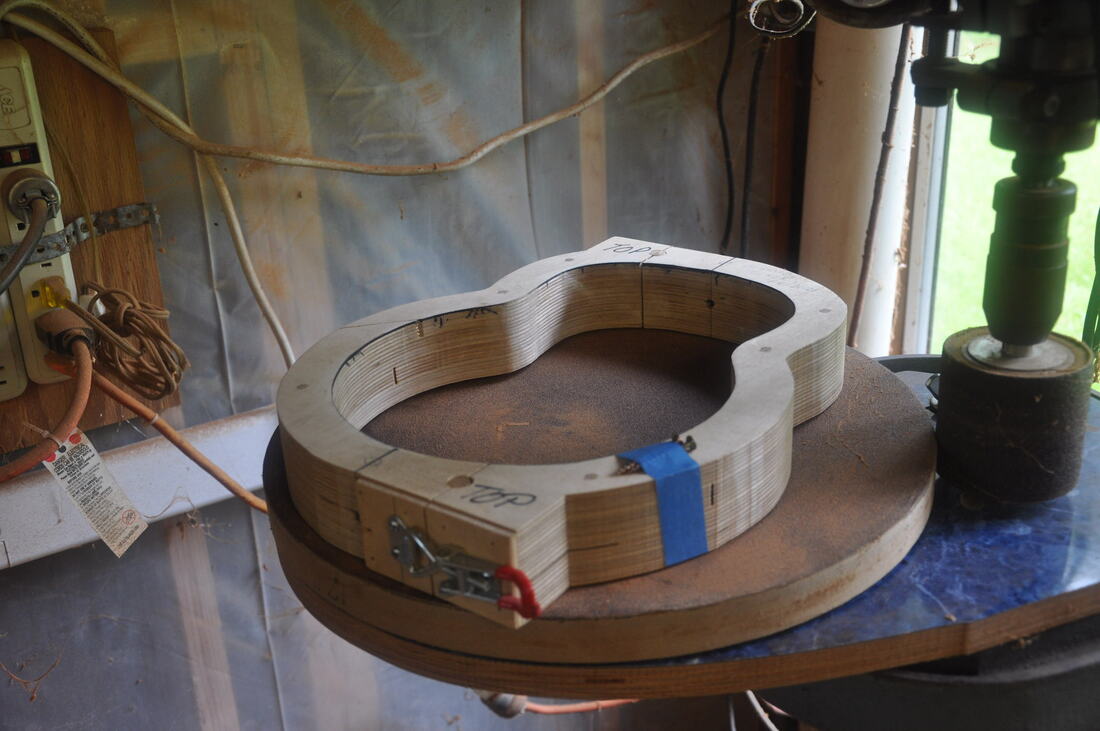
There are different versions of this radius sanding jig used by builders. For a bearing or low friction surface for the disc to spin on, some use a lazy Susan bearing under the radius sanding disc, some use various kinds of slick surfaces like teflon, and I've seen some pretty fancy roller bearing designs too. I simply use Formica and I wax it. I got this gaudy blue Formica for free from a cabinet shop. Some of the versions of this jig I've seen use a rubber drum in the drill press with a drive belt that goes around the drum and the outside of the sanding disc. I eliminated the belt and drive the disc directly with the drum. I've tried different size drums, with and without sandpaper on them. They all work, some better than others. you'll just have to experiment with what you have available.
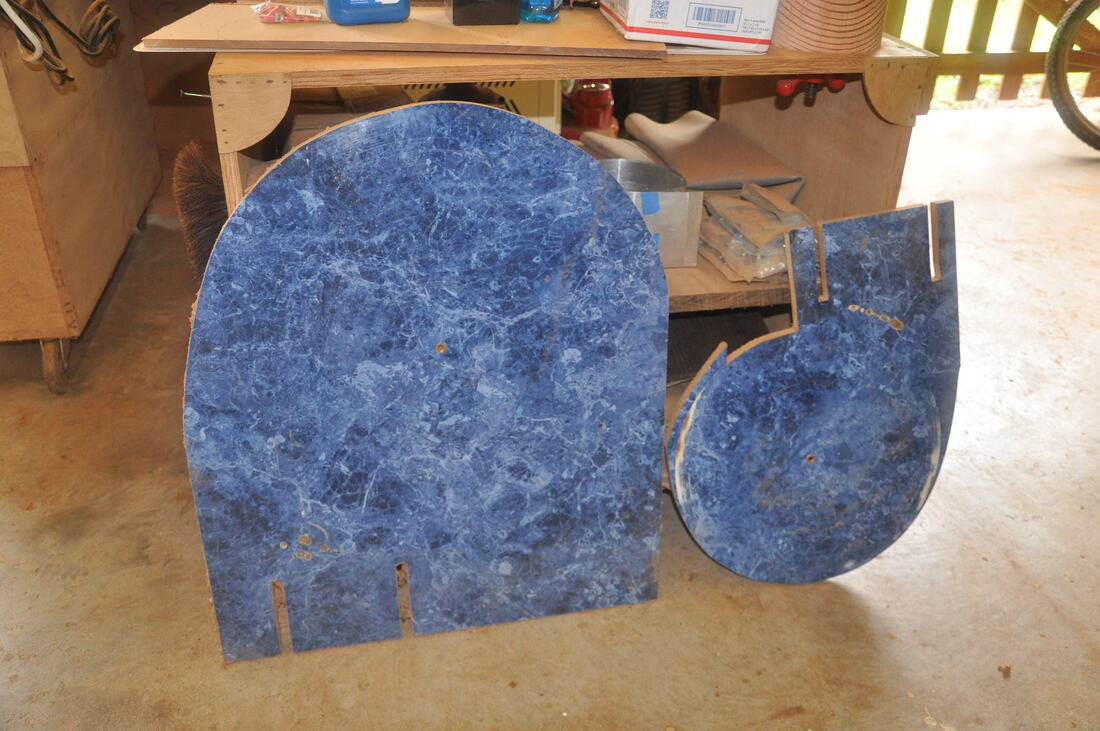
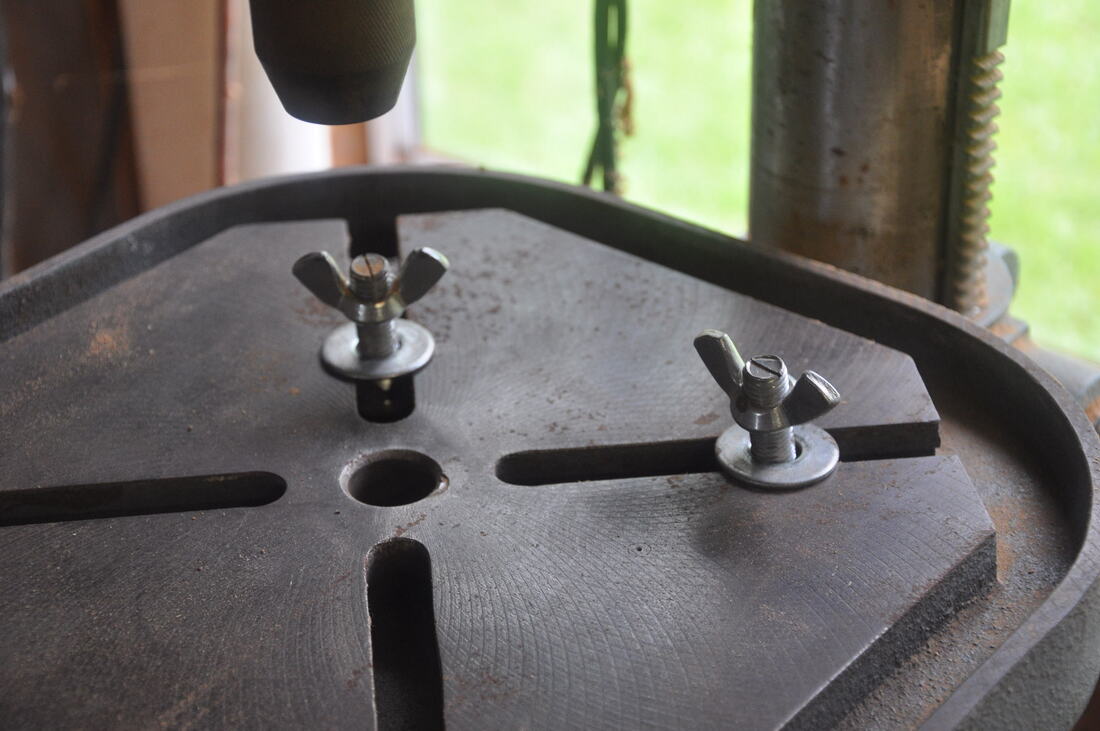
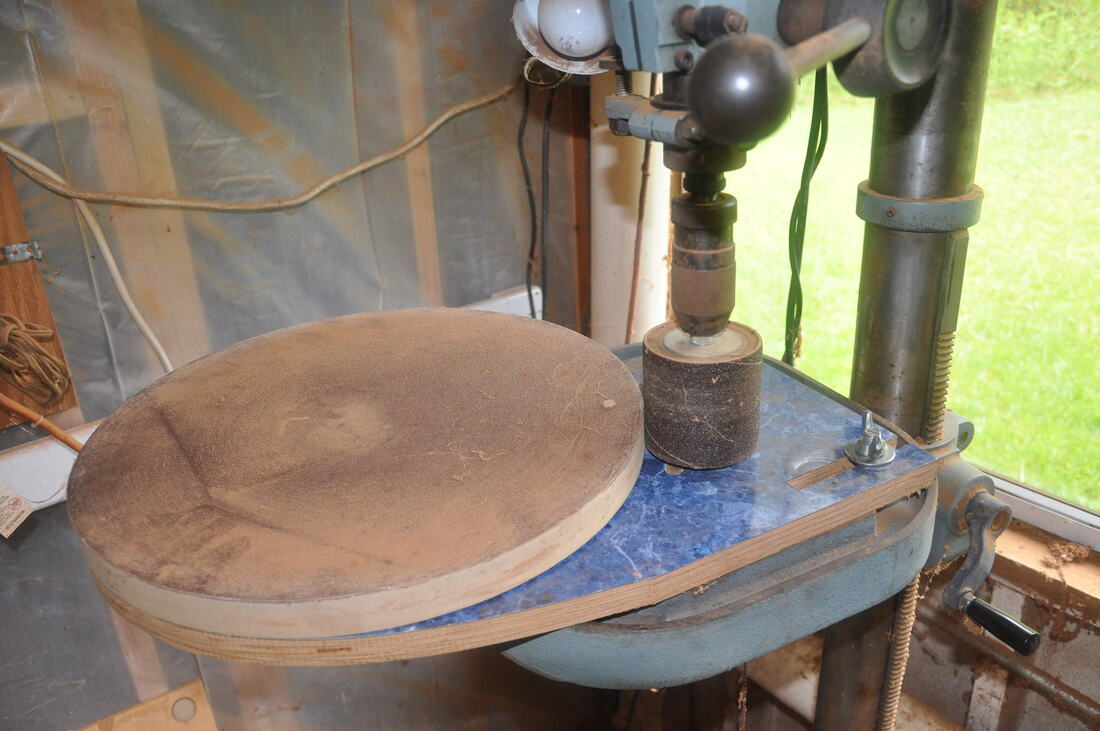
Here are the guitar and ukulele tables I use. They are made from cabinet grade plywood with a layer of Formica applied with contact cement.It is not possible for me to give exact dimensions because that will depend on your drill press size and the placement of slots in your drill press table. Not too hard to figure out. A good way to start would be to use 1/8" plywood to make a template, or maybe even cardboard. You can see the bolts slots in the tables. I hold my tables on with carriage bolts and wing nuts. Use the largest diameter bolts that will fit the slots in your table. You can always file the carriage bolt heads to fit your table slots if necessary.
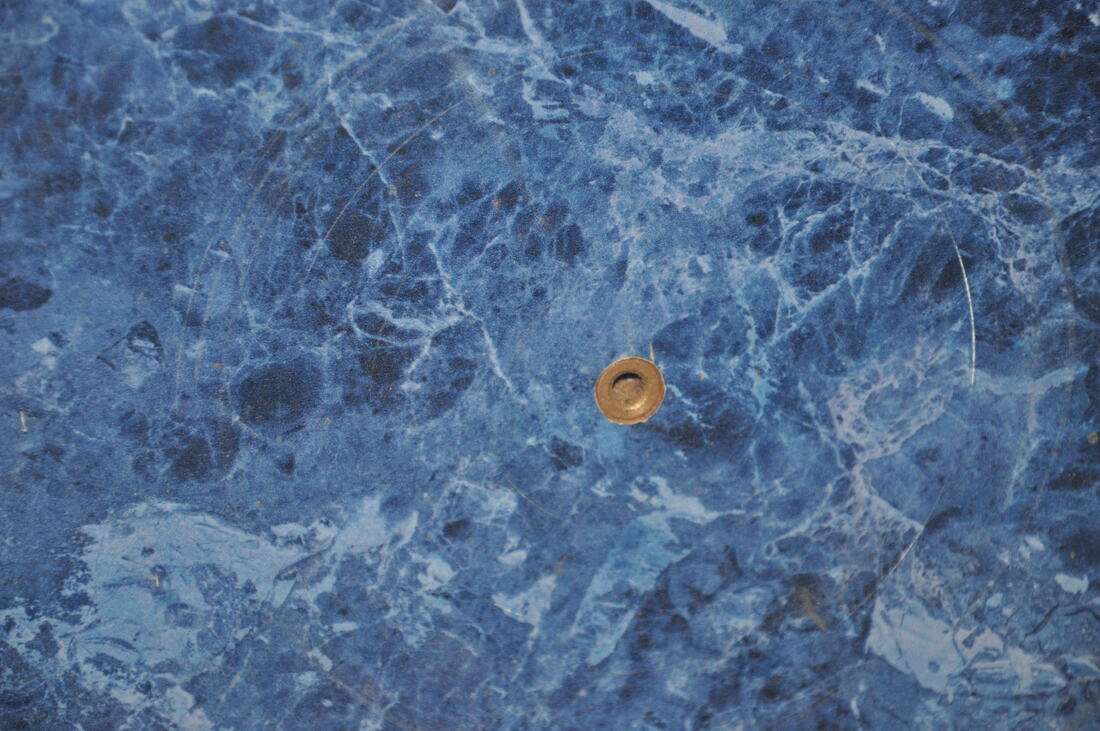
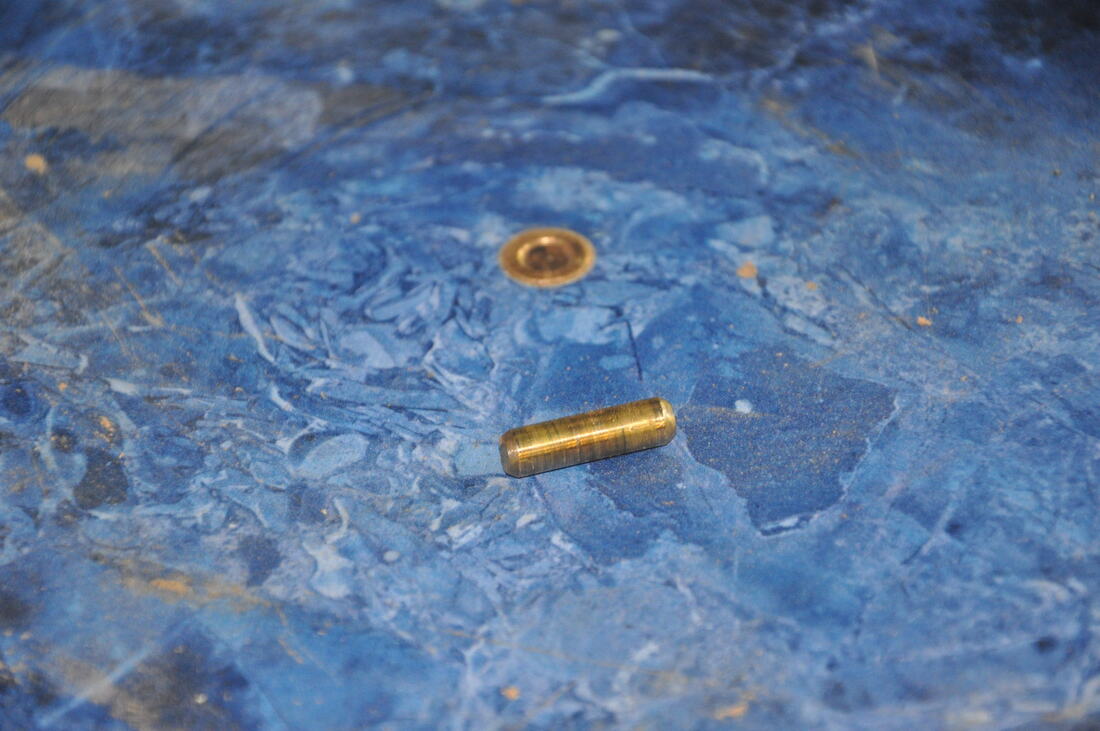
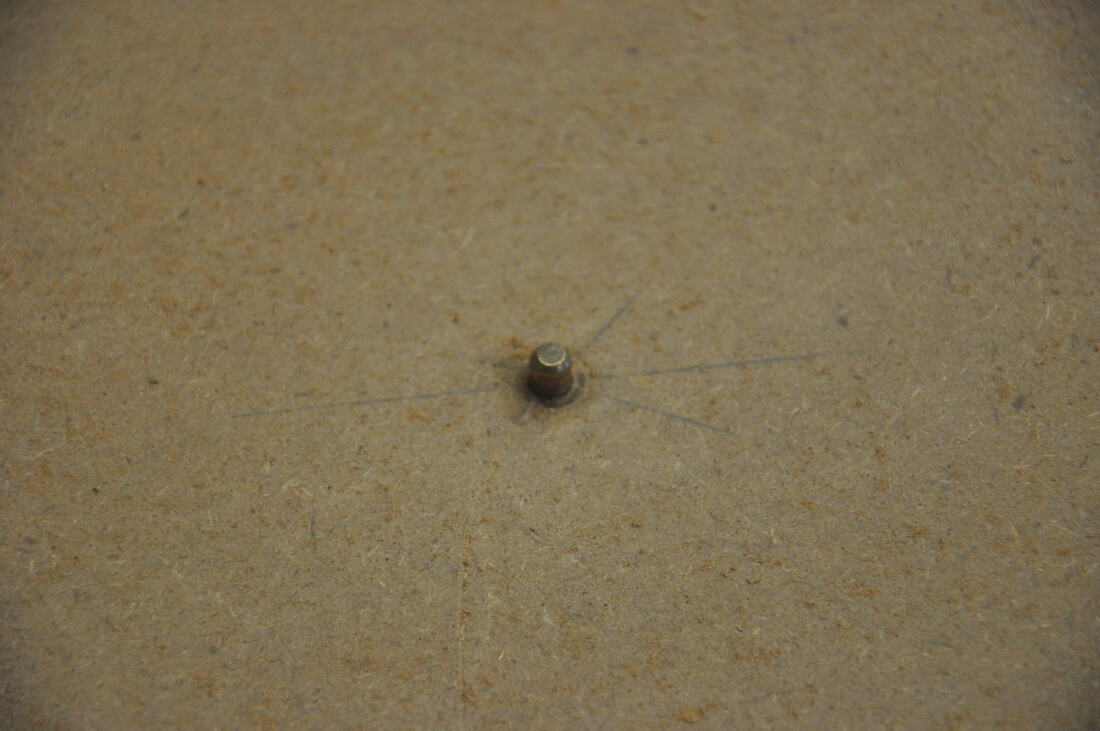
For a bearing to center the spinning dish, I use a 1/4" I.D. bushing which costs less than $3.00 at the local bearing house. The pin itself is a piece of 1/4" O.D. brass rod. The rod is loose and lifts out of the bushing. Obviously the bushing hole does not go through the table or the dish. It would be good to also put a bushing in the dishes, but I've never bothered to do that and the pin holes have not enlarged themselves. I've used this set up for years and it has never worn out.
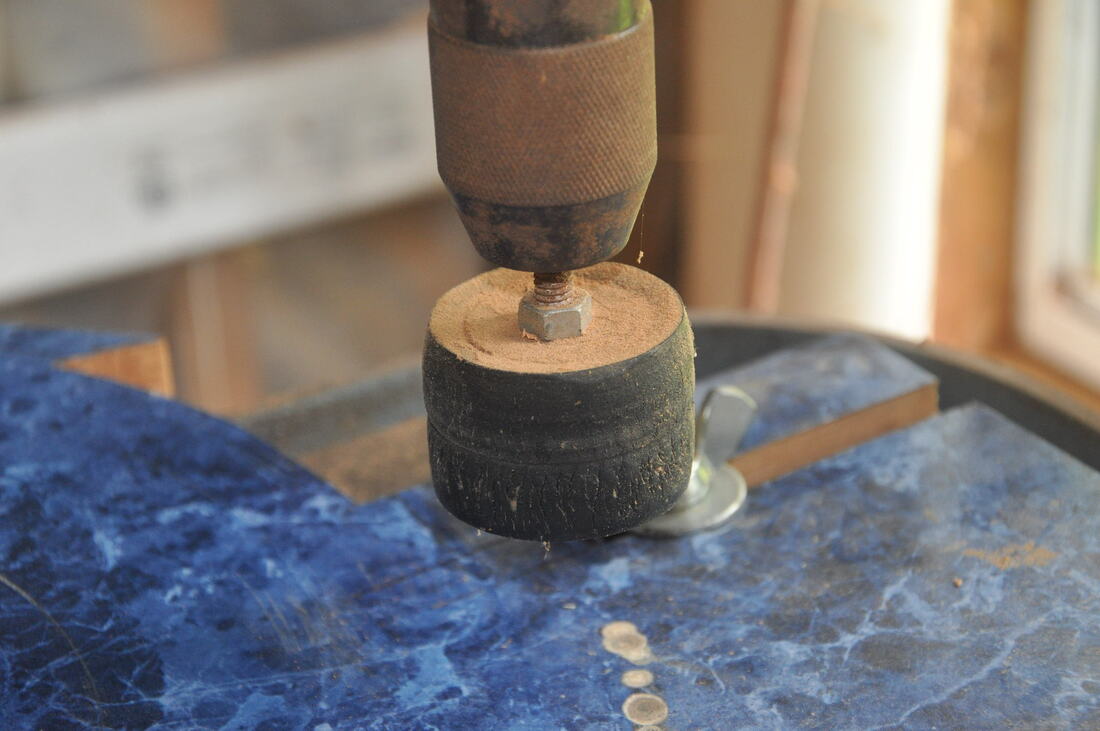
To power the dishes I've used several types and sizes of drums. They all work and you just have to figure out what works for you. I've used them with and without sanding sleeves on them. Both ways work. To use this jig, you swing the drill press table to the side, start the press, and then pull or push the table until the drum contacts the disc edge. Get it tight against the dish and then lock the table down. If the disc tries to climb off the center pin while it spins, you need to adjust the table angle. The drum can make the disc try to climp off the center pin if the drum is not vertical to the sides. It is a simple adjustment and I don't have much trouble with that. Raise the table so that you get as much contact on the edge of the disc as possible. When you are finish, swing the table so that the drum does not contact the disc. Leaving it tight against the disc could create a flat spot on the drive drum. Most likely not, but easy to avoid.
One issue that I have heard people whine about is that drill presses are not designed to have sideways pressure on the quill. That is true, but I've done my radius sanding this way for at least 20 years, through 3 successively larger drill presses, and they have all continued to work fine as drill presses. If you were doing extensive sanding, then building a dedicated station would be more appropriate.
One issue that I have heard people whine about is that drill presses are not designed to have sideways pressure on the quill. That is true, but I've done my radius sanding this way for at least 20 years, through 3 successively larger drill presses, and they have all continued to work fine as drill presses. If you were doing extensive sanding, then building a dedicated station would be more appropriate.
Any questions, feel free to contact me at [email protected]